Actuator: dynamixel AX-12A, Controller : OpenRB150

I had a problem with the servo motor not working, while the program from the Arduino Uno could be uploaded to the openRB-150, I tried several methods published on the web and YouTube several times and still didn’t succeed in moving the servo motor. Tried dynamixel wizard 2.0 but it stalls in the following conditions, even on openRb-150 it gets hot, this is my worry

Can anyone help me solve this problem? Any guidance or suggestions would be greatly appreciated.
here’s what I’ve done
4
5
3
2
1

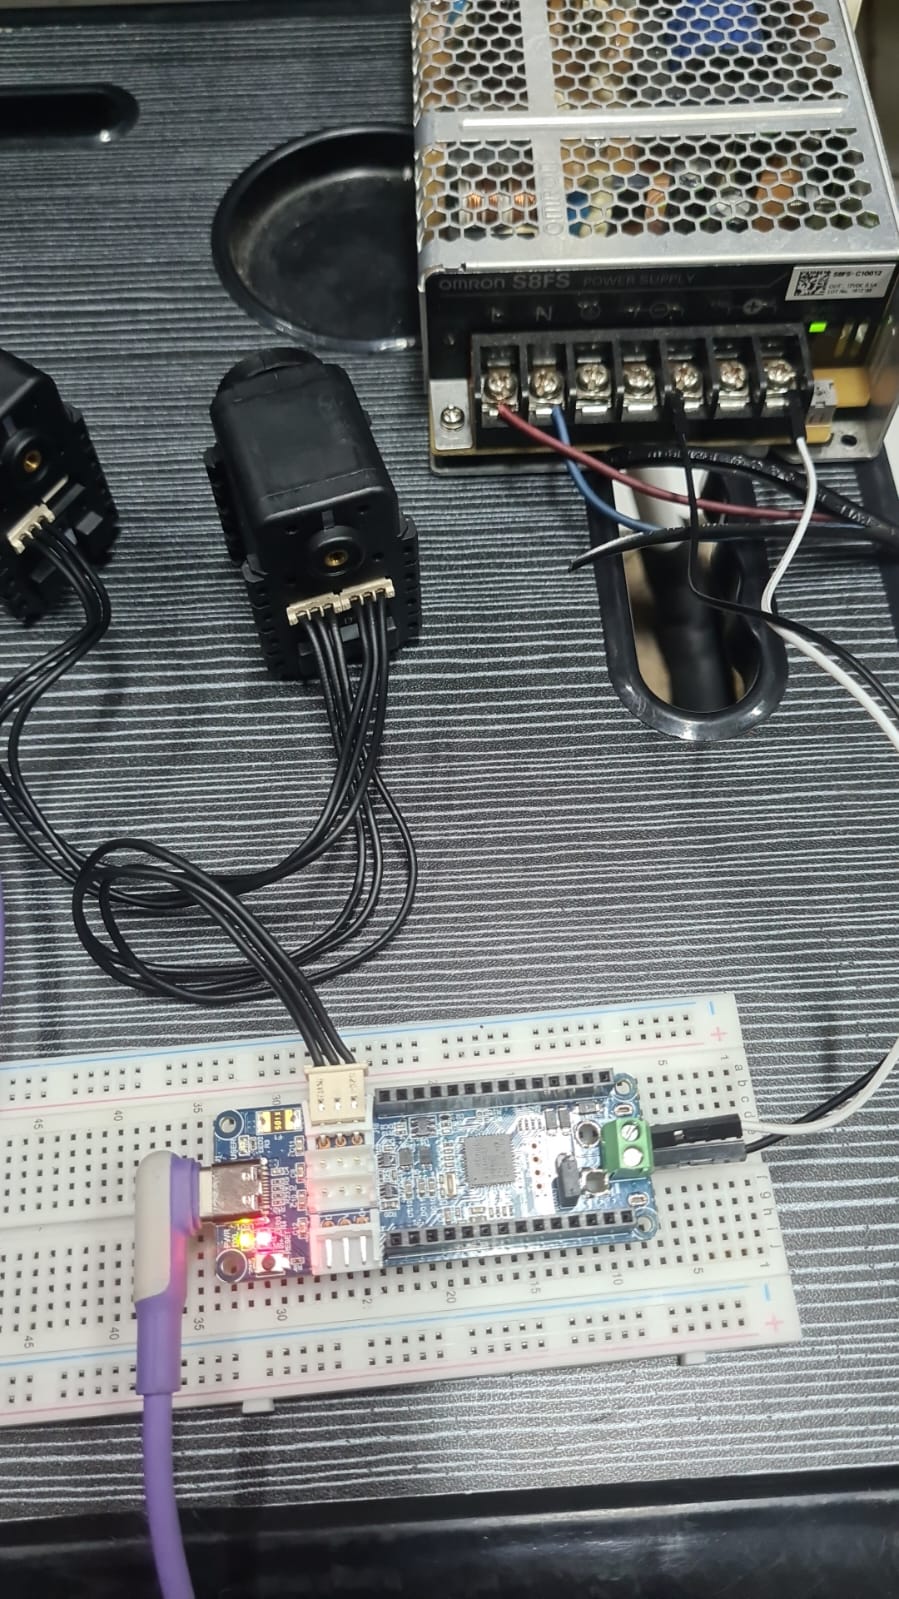
In the first picture you have configured correctly the 150 to work with your Ax-12: that is to power the ax12 via the terminal block (hopefully with 12 v) and to control them via usb. Your arduino code should have worked here.

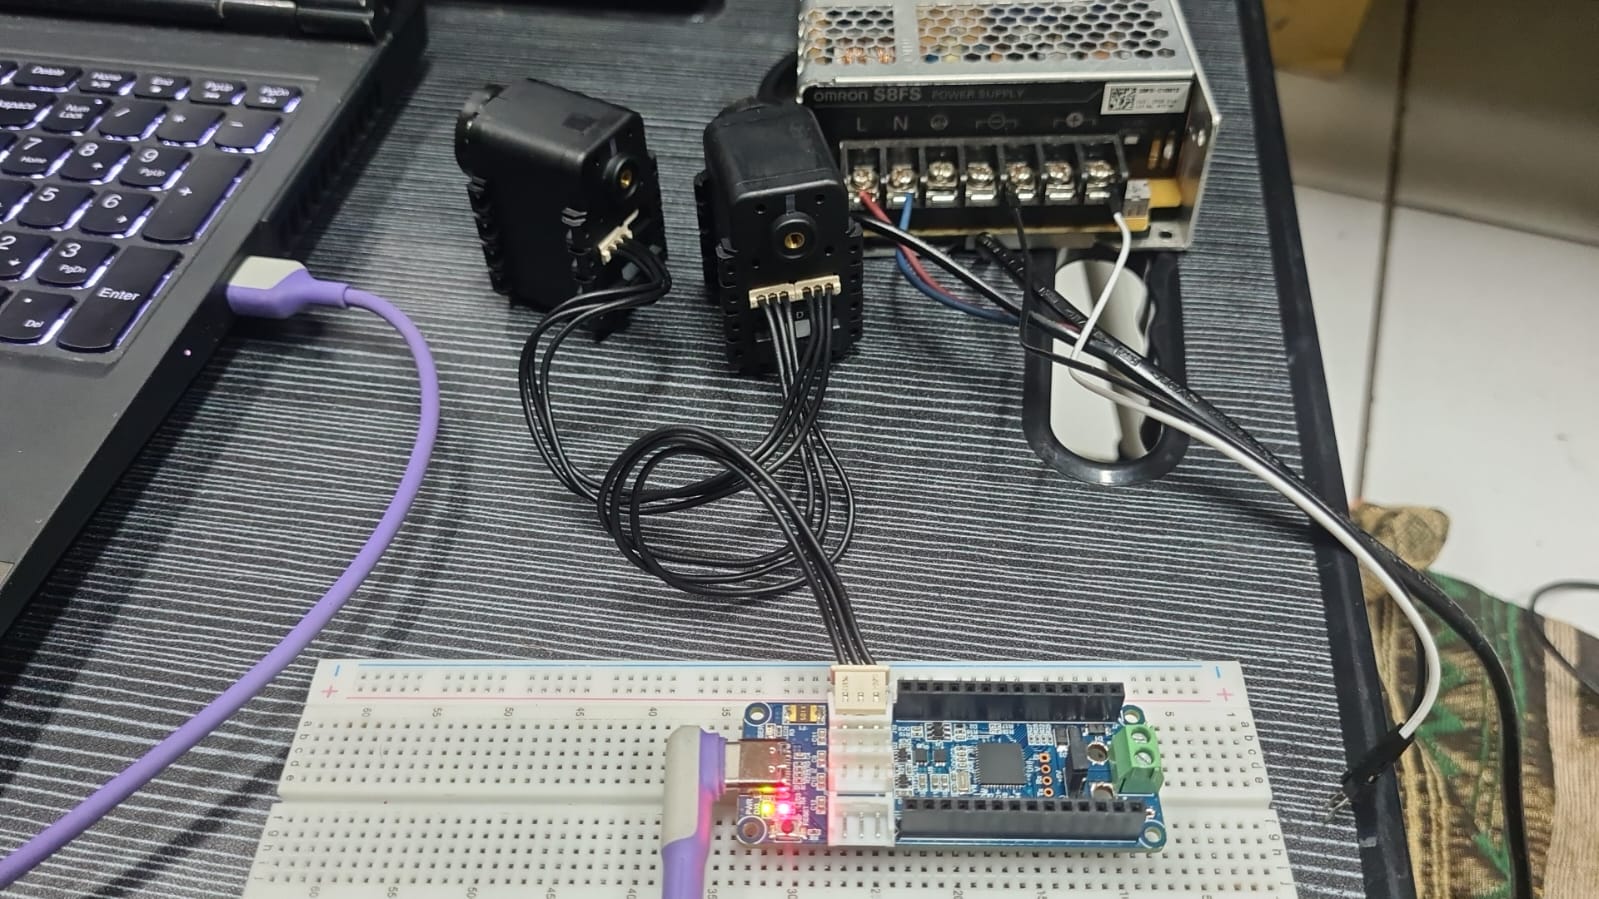
In the third picture you were trying to power and control the ax12s with USB power alone. This will not work. The e-manual did not use this configuration at all. So why did you use it? This configuration may have damaged your 150 slightly already. Never use this configuration again.

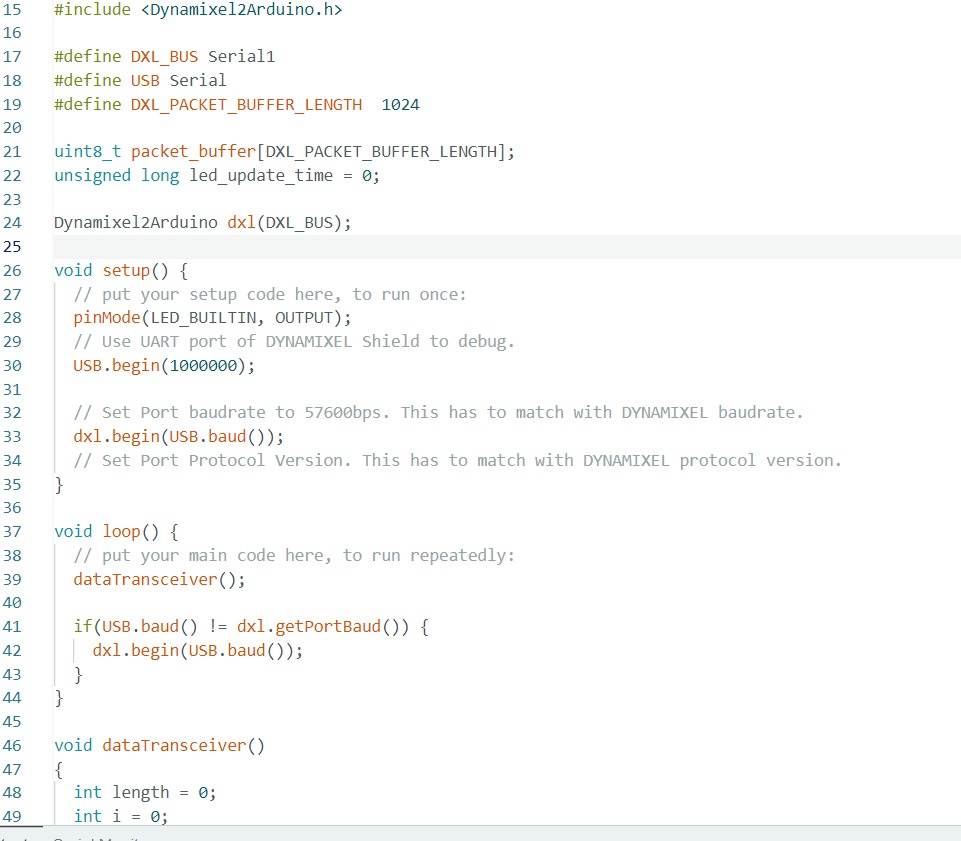
Can you provide the complete Arduino sketch?

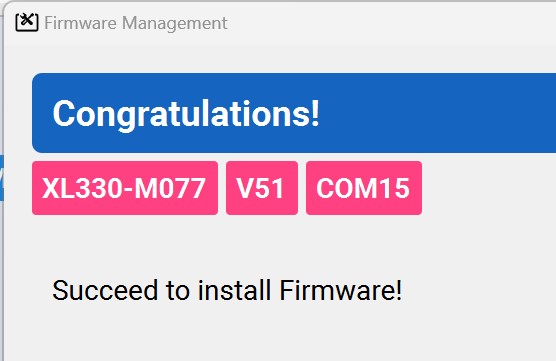
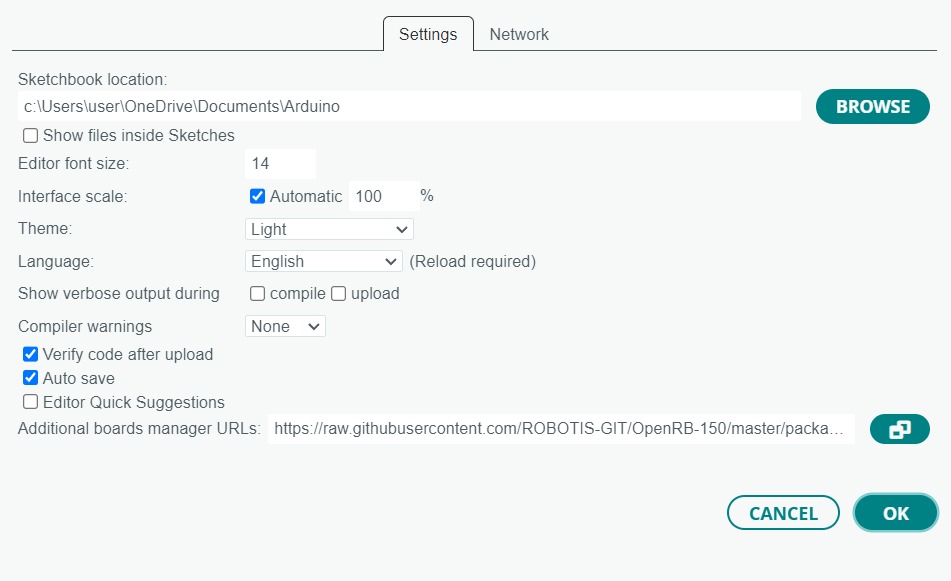
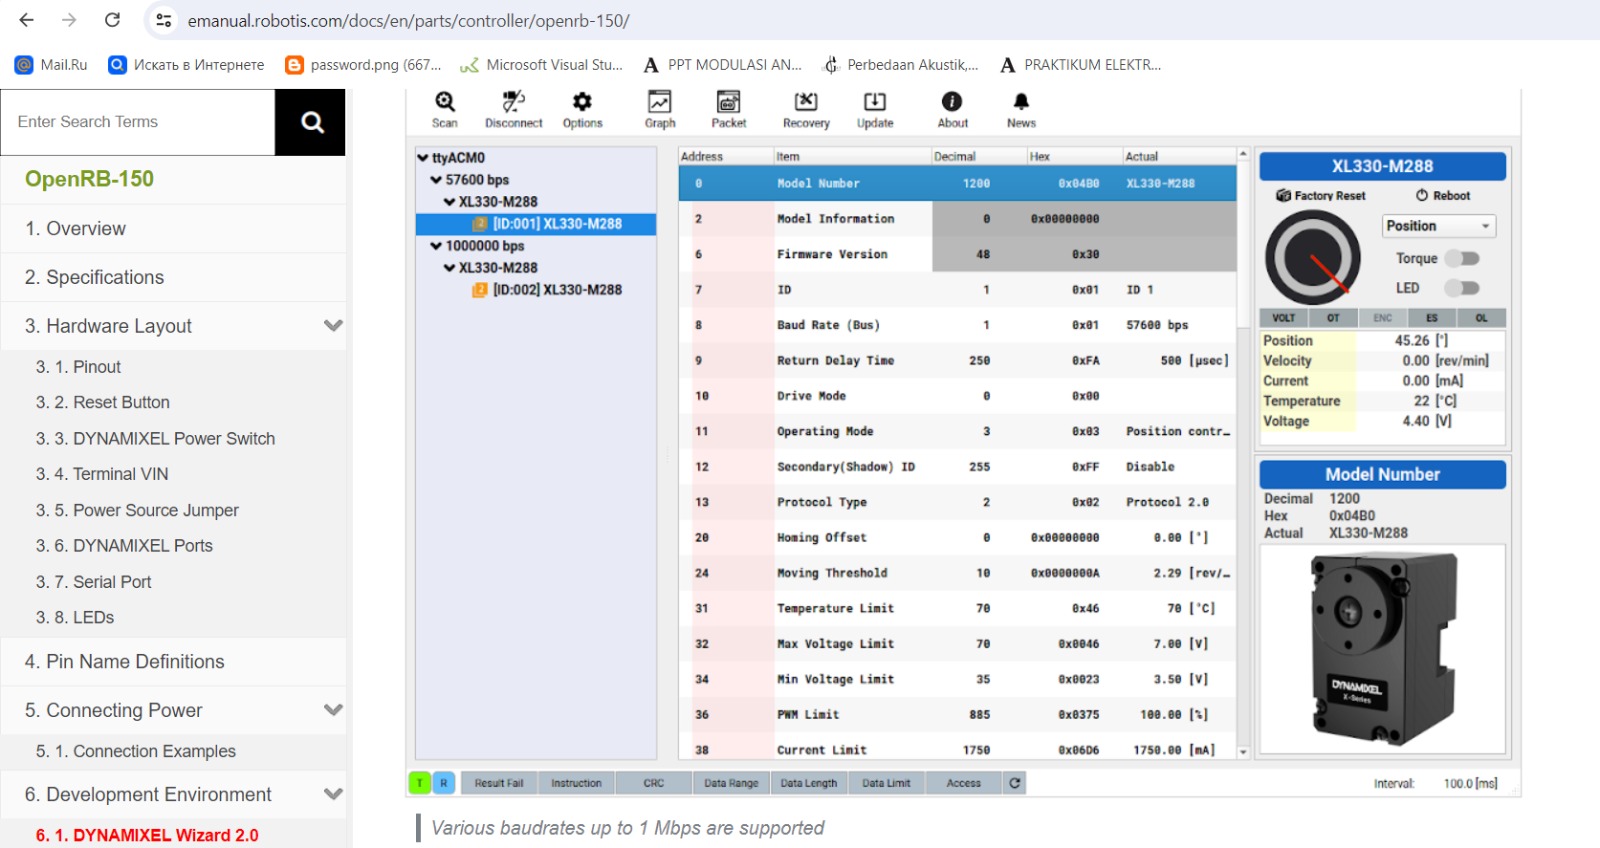
for the third picture I just uploaded the code for openrb 150 using the example available in arduino nano, I learned from the robotics e-manual book and youtube like that and then changed the jumper set to vin dxl and turned on the 12V power supply. then I entered dynamixel wizzard on the firmware management menu and can be seen in figure 4 I got stuck there unable to display the display in the image below, is the way I did this wrong? please advise?
6

Yes it is correct to use Vin-Dxl setting on the jumper and then use 12 v on the terminal block.
What I don’t understand is that why the Dxl Wizard shows XL-330s instead of Ax-12???
Please provide the actual and current hardware configuration used and the complete sketch so that it will be easier for me to help you.

You can also read a free Kindle sample of my book on Amazon.
https://read.amazon.com/sample/B0BPXGQ6YX

It has lots more info.

I screenshot the above dxl guide in the web guide while I have set it according to the motor I am using, which is ax 12a, I am still stuck on the below display
stuck

berikut adalah sketsa saya
WhatsApp Image 2024-07-21 at 07.04.47
WhatsApp Image 2024-07-21 at 07.04.09
WhatsApp Image 2024-07-21 at 07.03.26

Oh boy! You are really confused. You are applying the web info not in an organized way. Let’s see if I can help you fix it.

  1. the Ax12 already has its own firmware so there is no reason to use the DXL wizard to recover the Ax12 firmware. Why do you think that you needed to?

  2. Next, previously I saw that you used “ttyacm0” in DXL wizard meaning that you were using a Unix PC. But just now I see a COM port being used, meaning that a Windows PC is being used. So please with one platform only and also I suggest to use only 1 AX12 first so that we can troubleshoot thoroughly first before adding the 2nd Ax12

  3. The sketch you provide seems to the sketch “usbtodynamixel” example right?

Yes, that’s right I used the usbtodynamixel sketch that already exists in the arduino IDE. I have done the method you provided by using 1 dynamixel only.

Here’s the video I recorded

i really need your help

Thank you for sharing your video. Unfortunately this is an example of WHAT NOT TO DO as your procedure could potentially have damaged your actuator and OpenRB-150. Below is the recommended procedure (using an XL-330 as I do not have an AX-12A handy).

FIRST, the key idea is to set up all required electrical connections, but with NO POWER:

  • Jumper on VIN-DXL position on OpenRB-150 board.

  • 5 V DXL power circuit - from Terminal Block to Power Supply, then to Power Strip (but Power Switch is OFF).

  • USB cable plugged into OpenRB-150, but its PC’s end is NOT connected to PC.

  • XL-330 (or AX-12A) DXL connected to DXL connector on OpenRB-150 via ROBOTIS TTL cable.
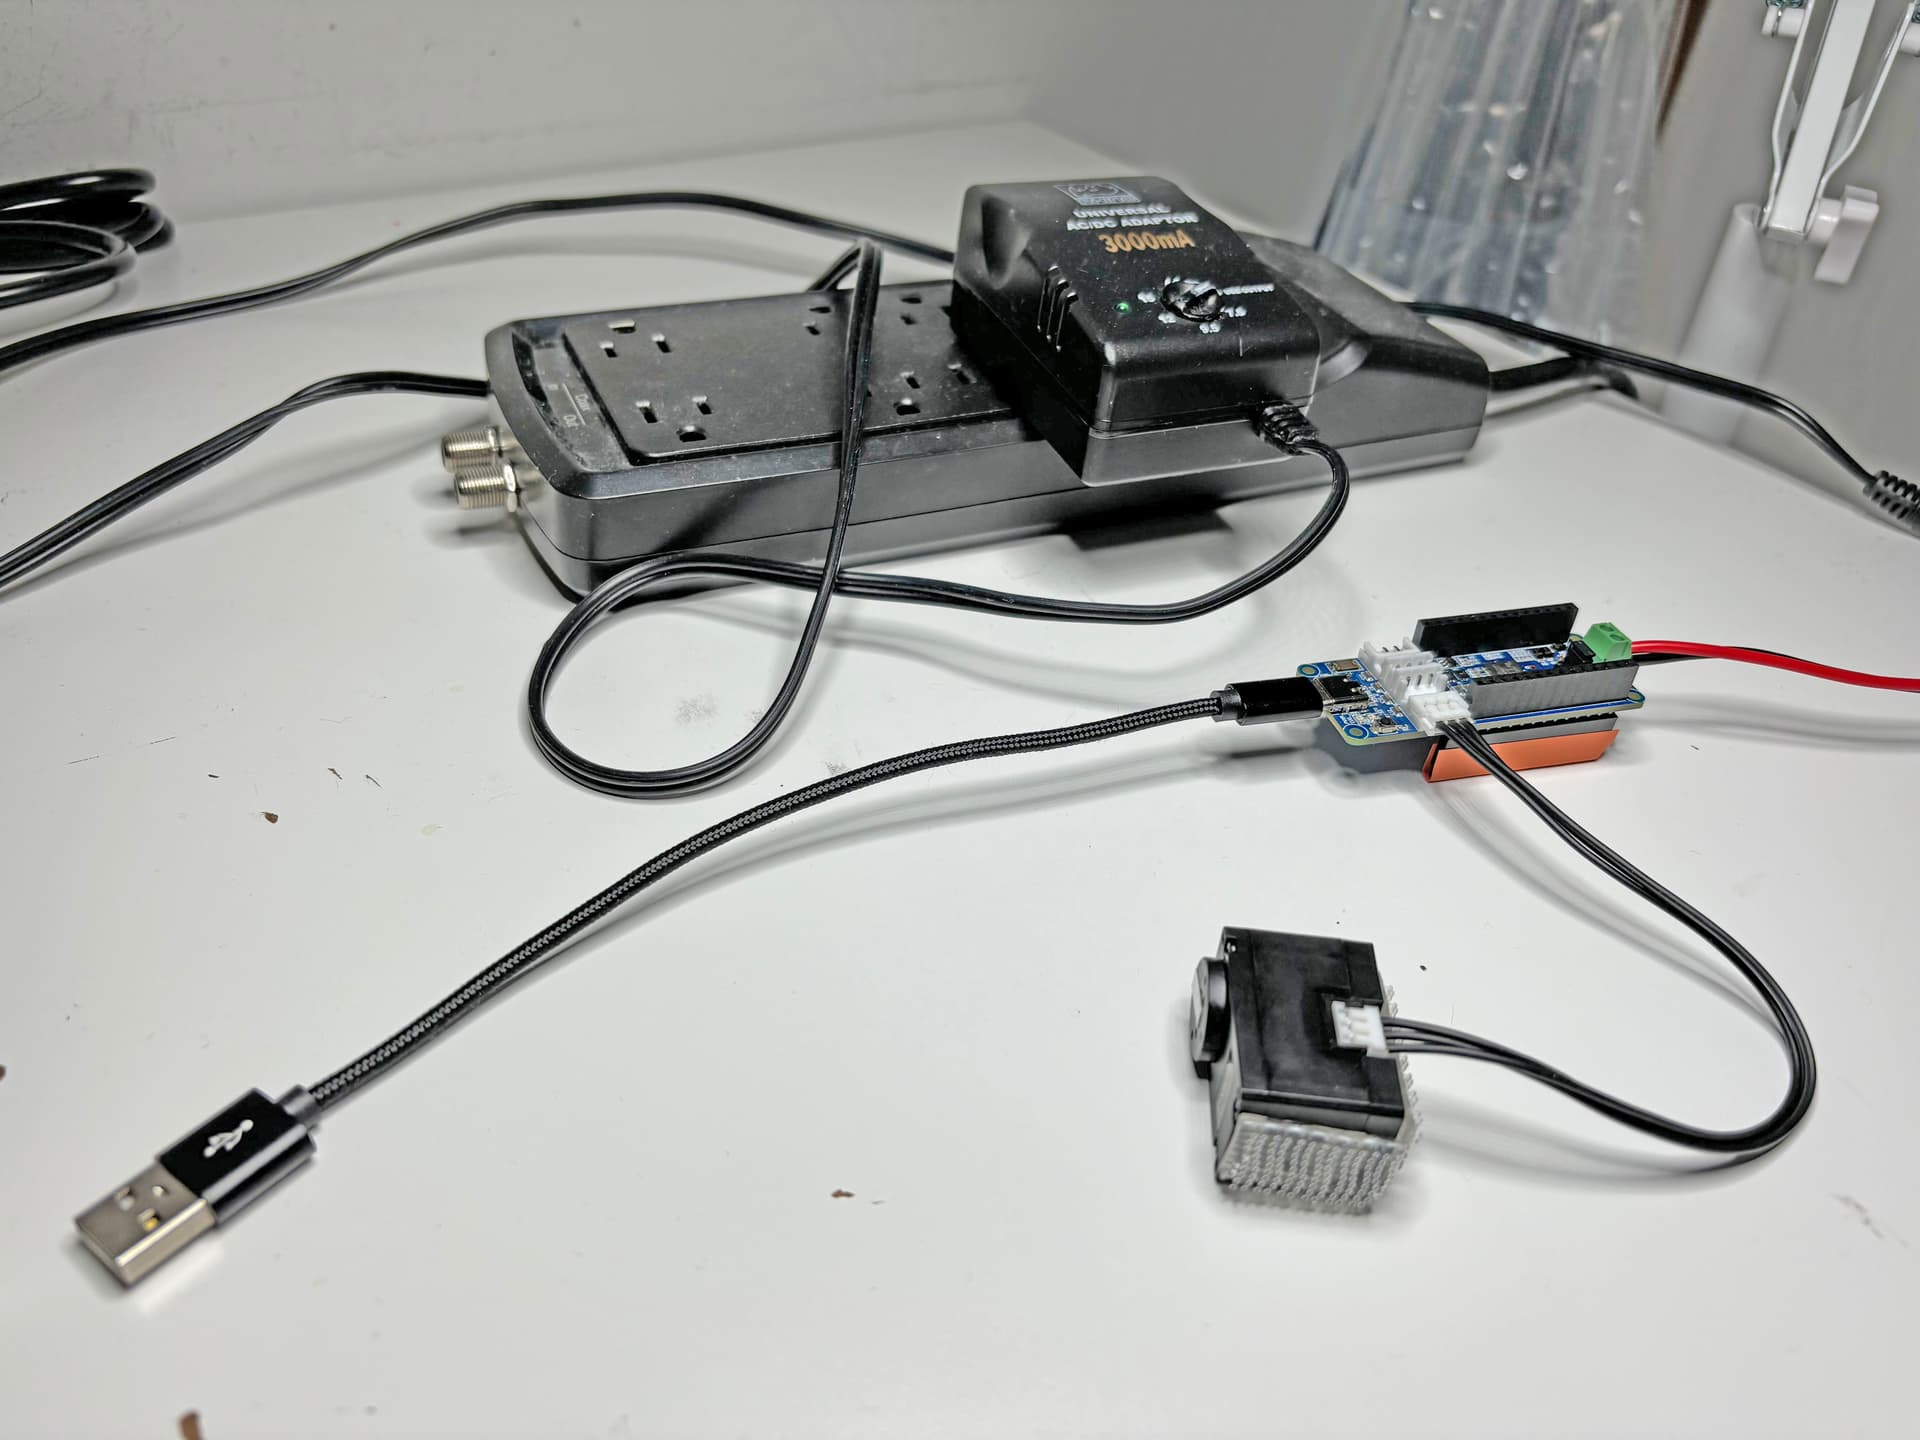
AllConnectedNoPowerNoUSB

Next, POWER ON the DXL and OpenRB-150 with the Power Switch on the Power Strip, but NO USB yet.
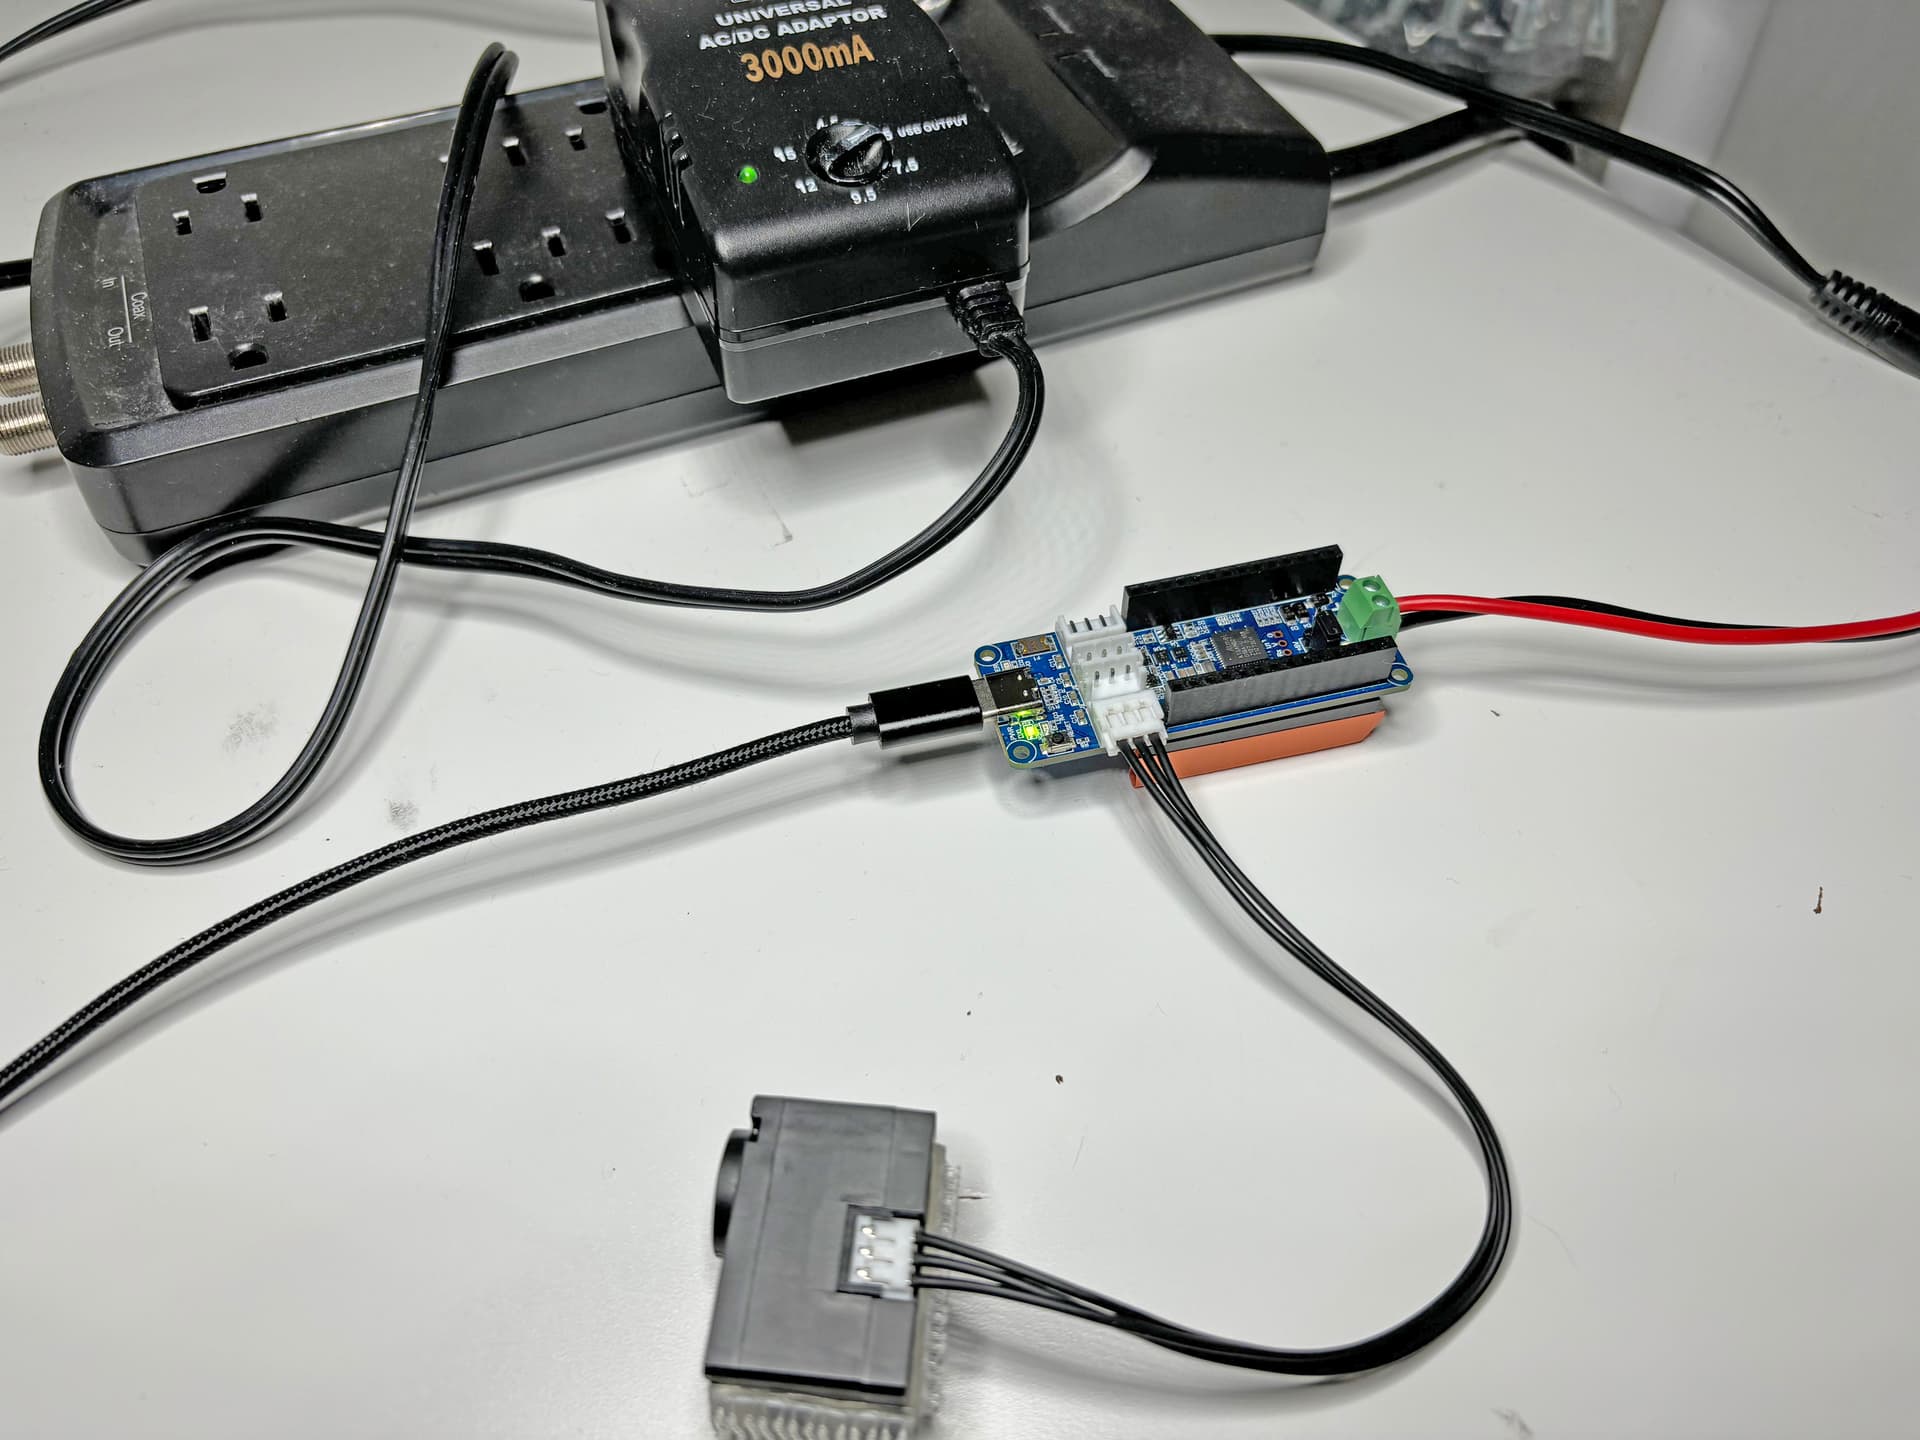
PowerOn_NoUSB

Next, plug the USB-A connector to the PC via one of the PC’s USB Ports (for my case I needed a USB extension cable).
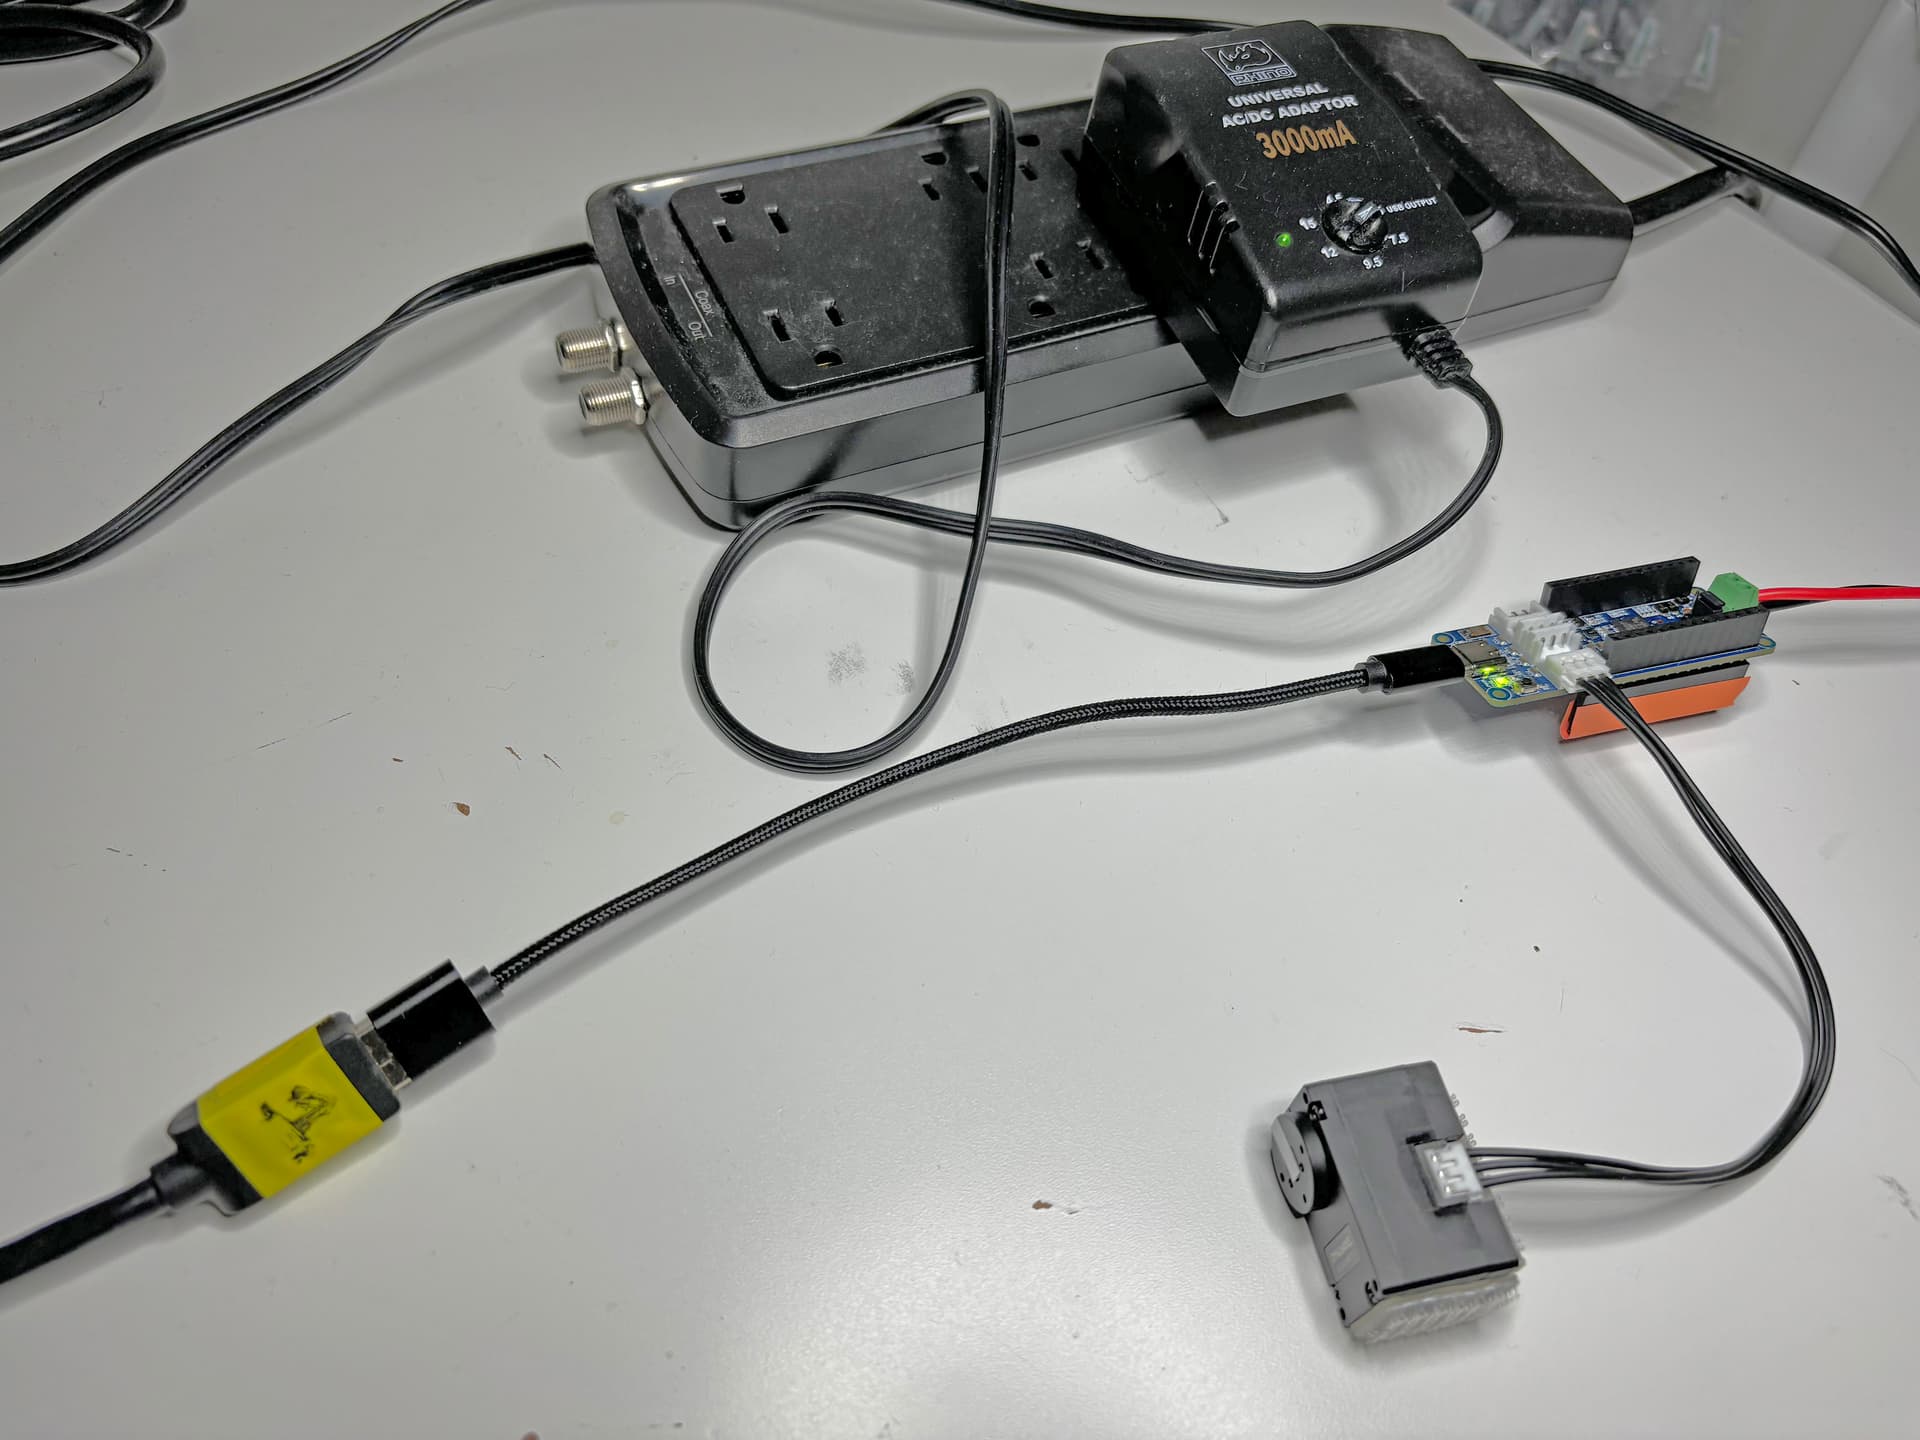
ConnectUSB

We are now ready to open Arduino IDE and download the example sketch usb_to_dynamixel.ino to the OpenRB-150.
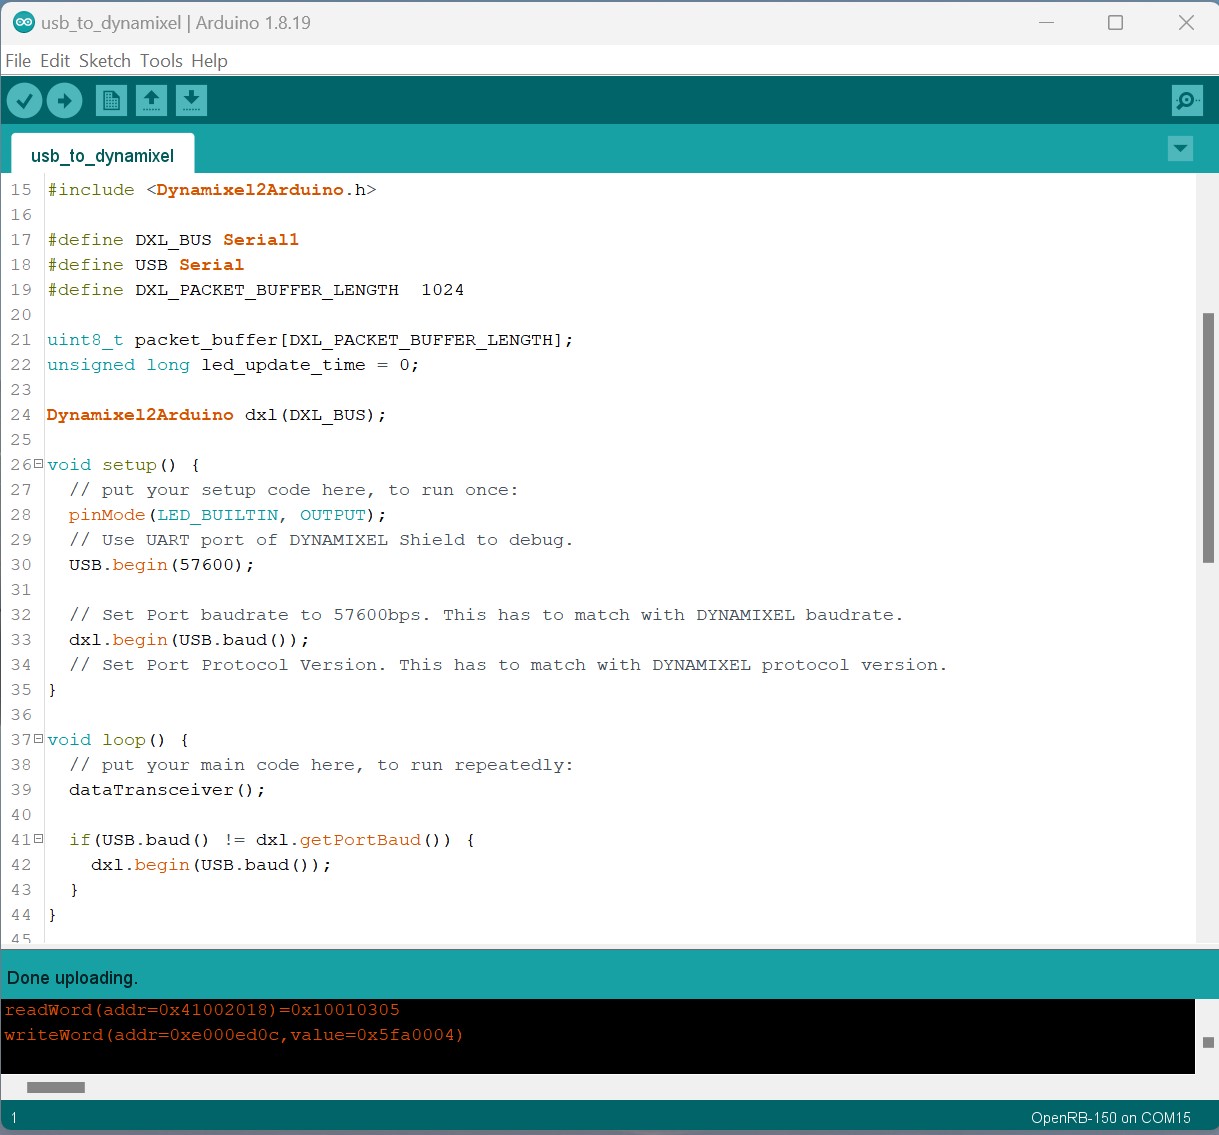
USB2DXL_1

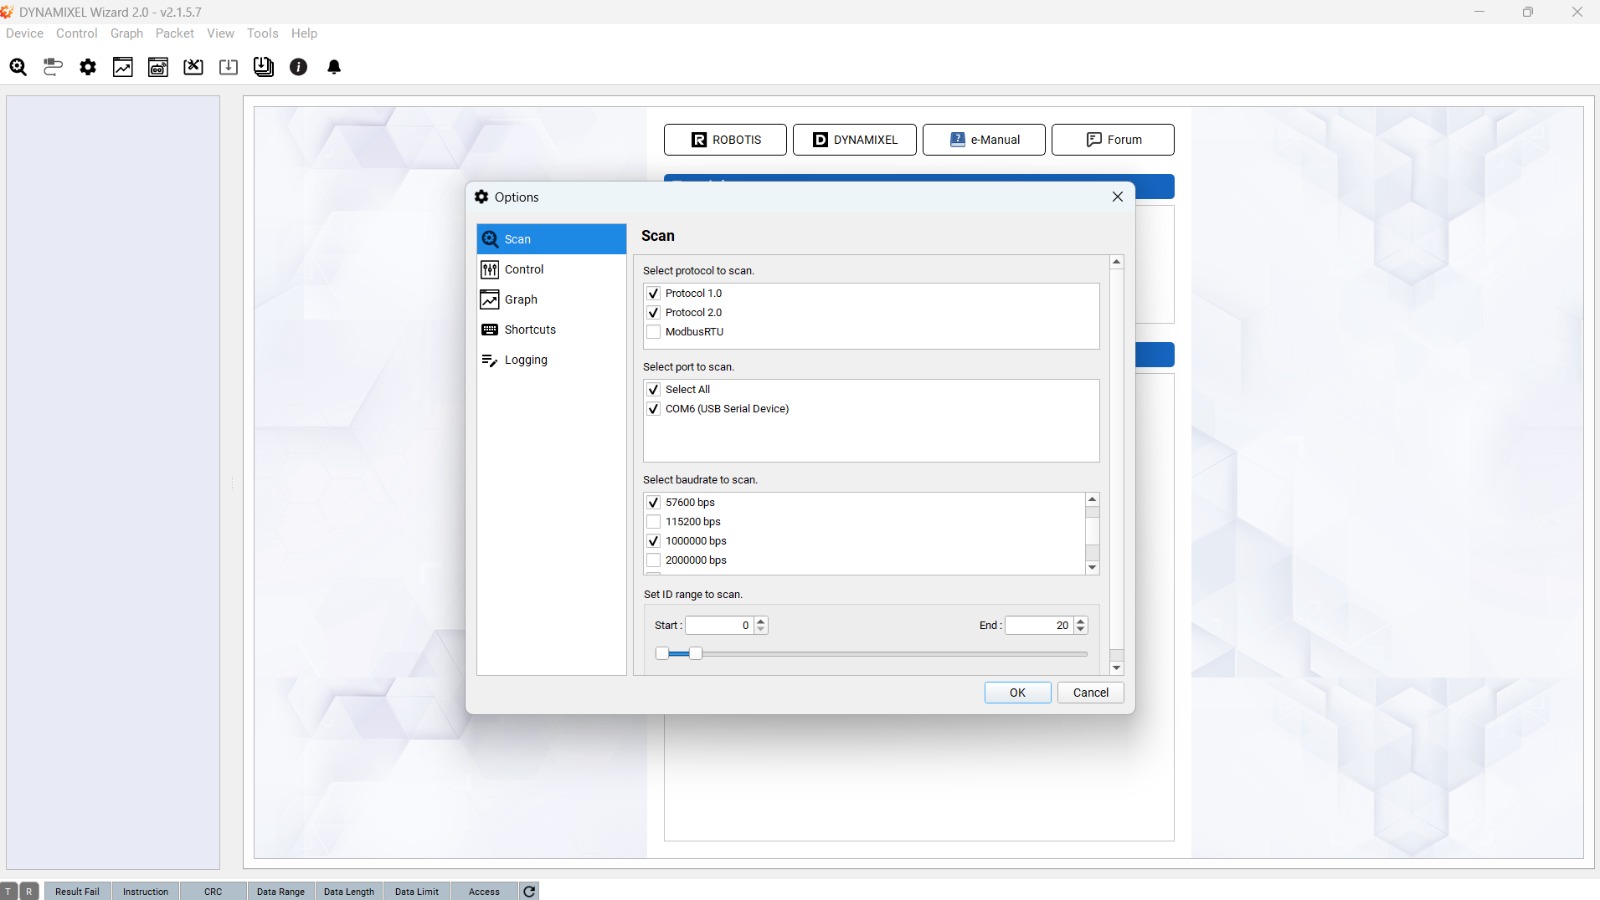
Shut down ARDUINO IDE window and run Dynamixel Wizard 2.0. Find and set proper SCAN Parameters (COM Port, DXL Protocol, etc…):
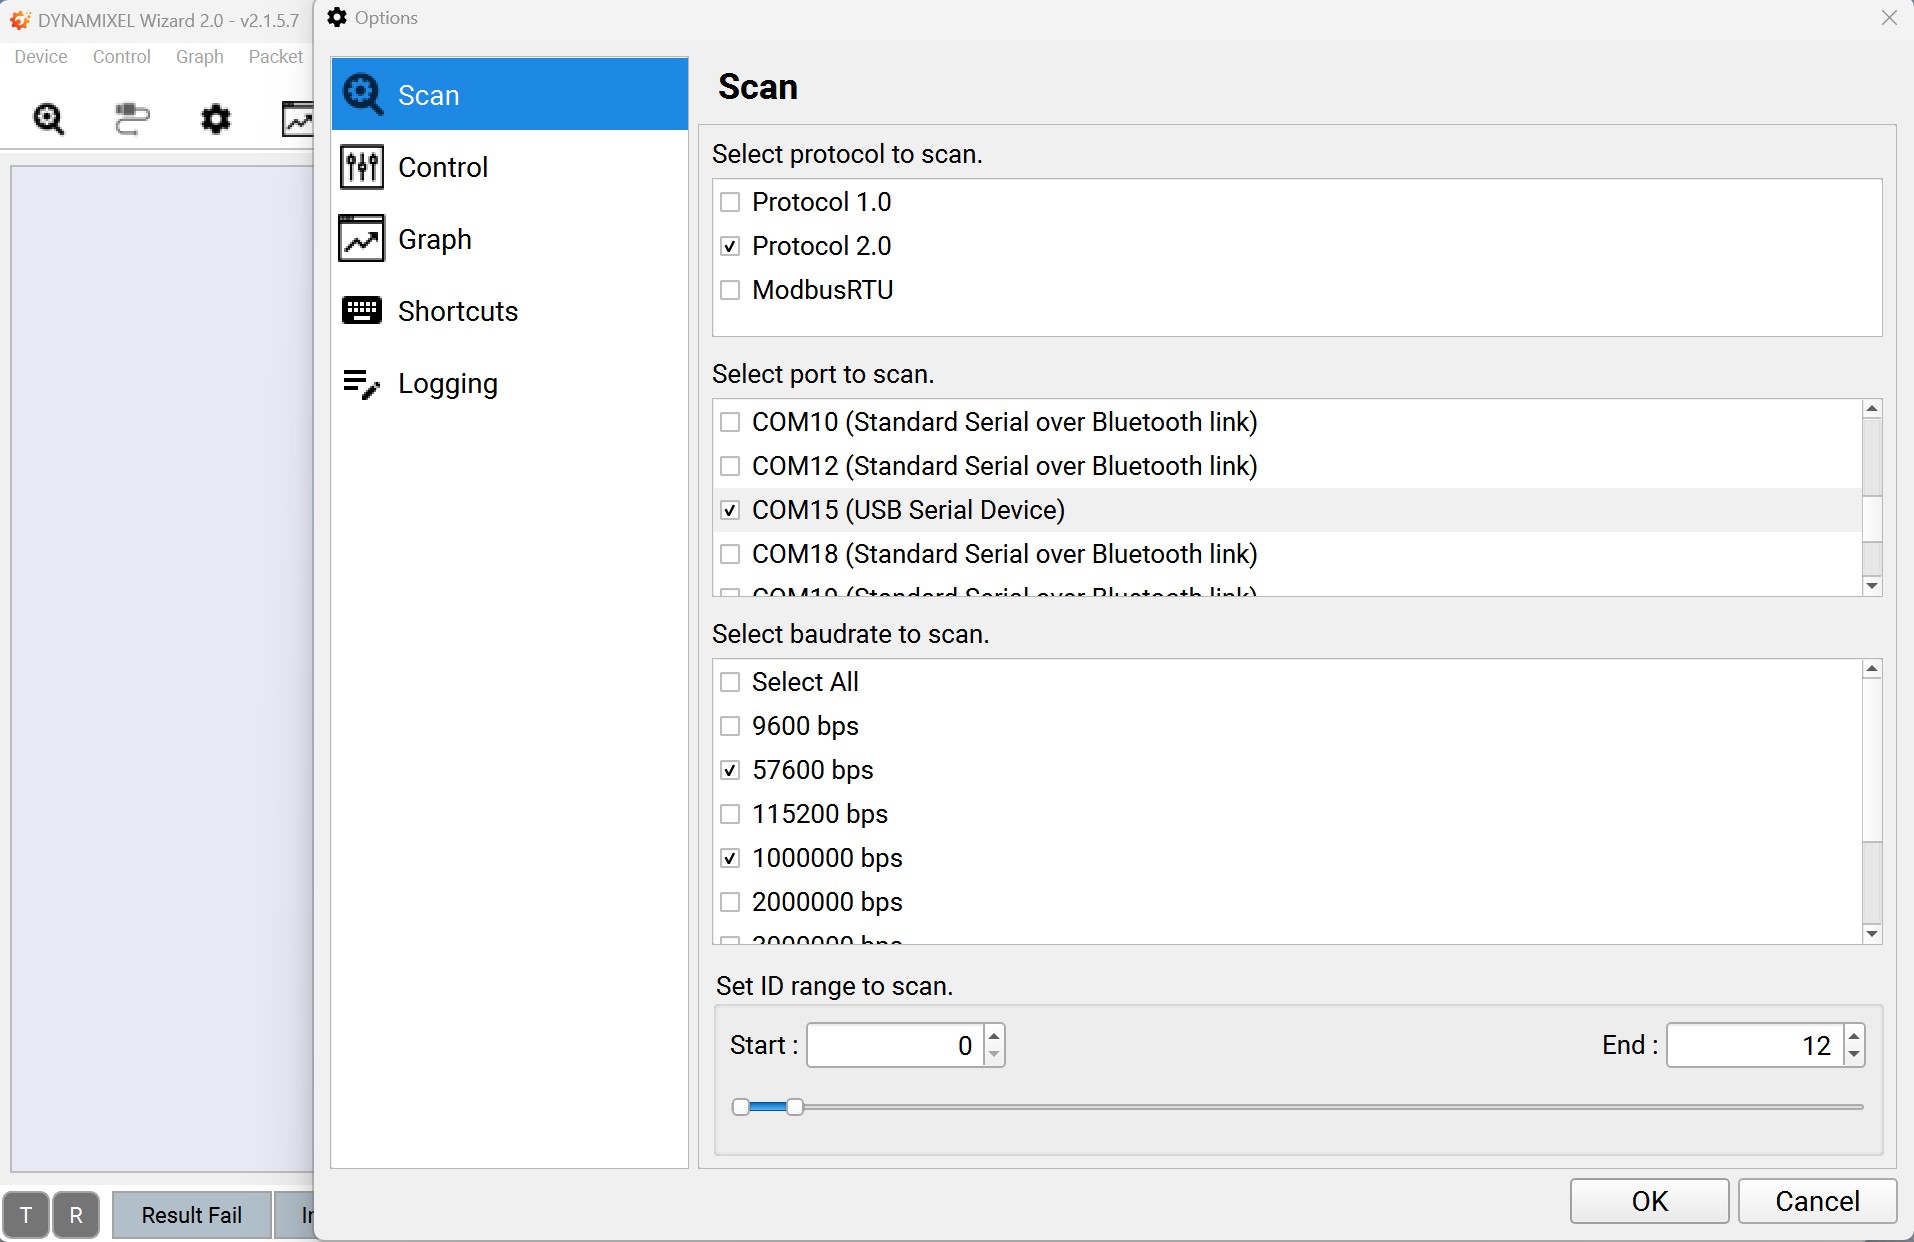
Scan_Option

If your DXL is still working OK, the SCAN should be finished like this
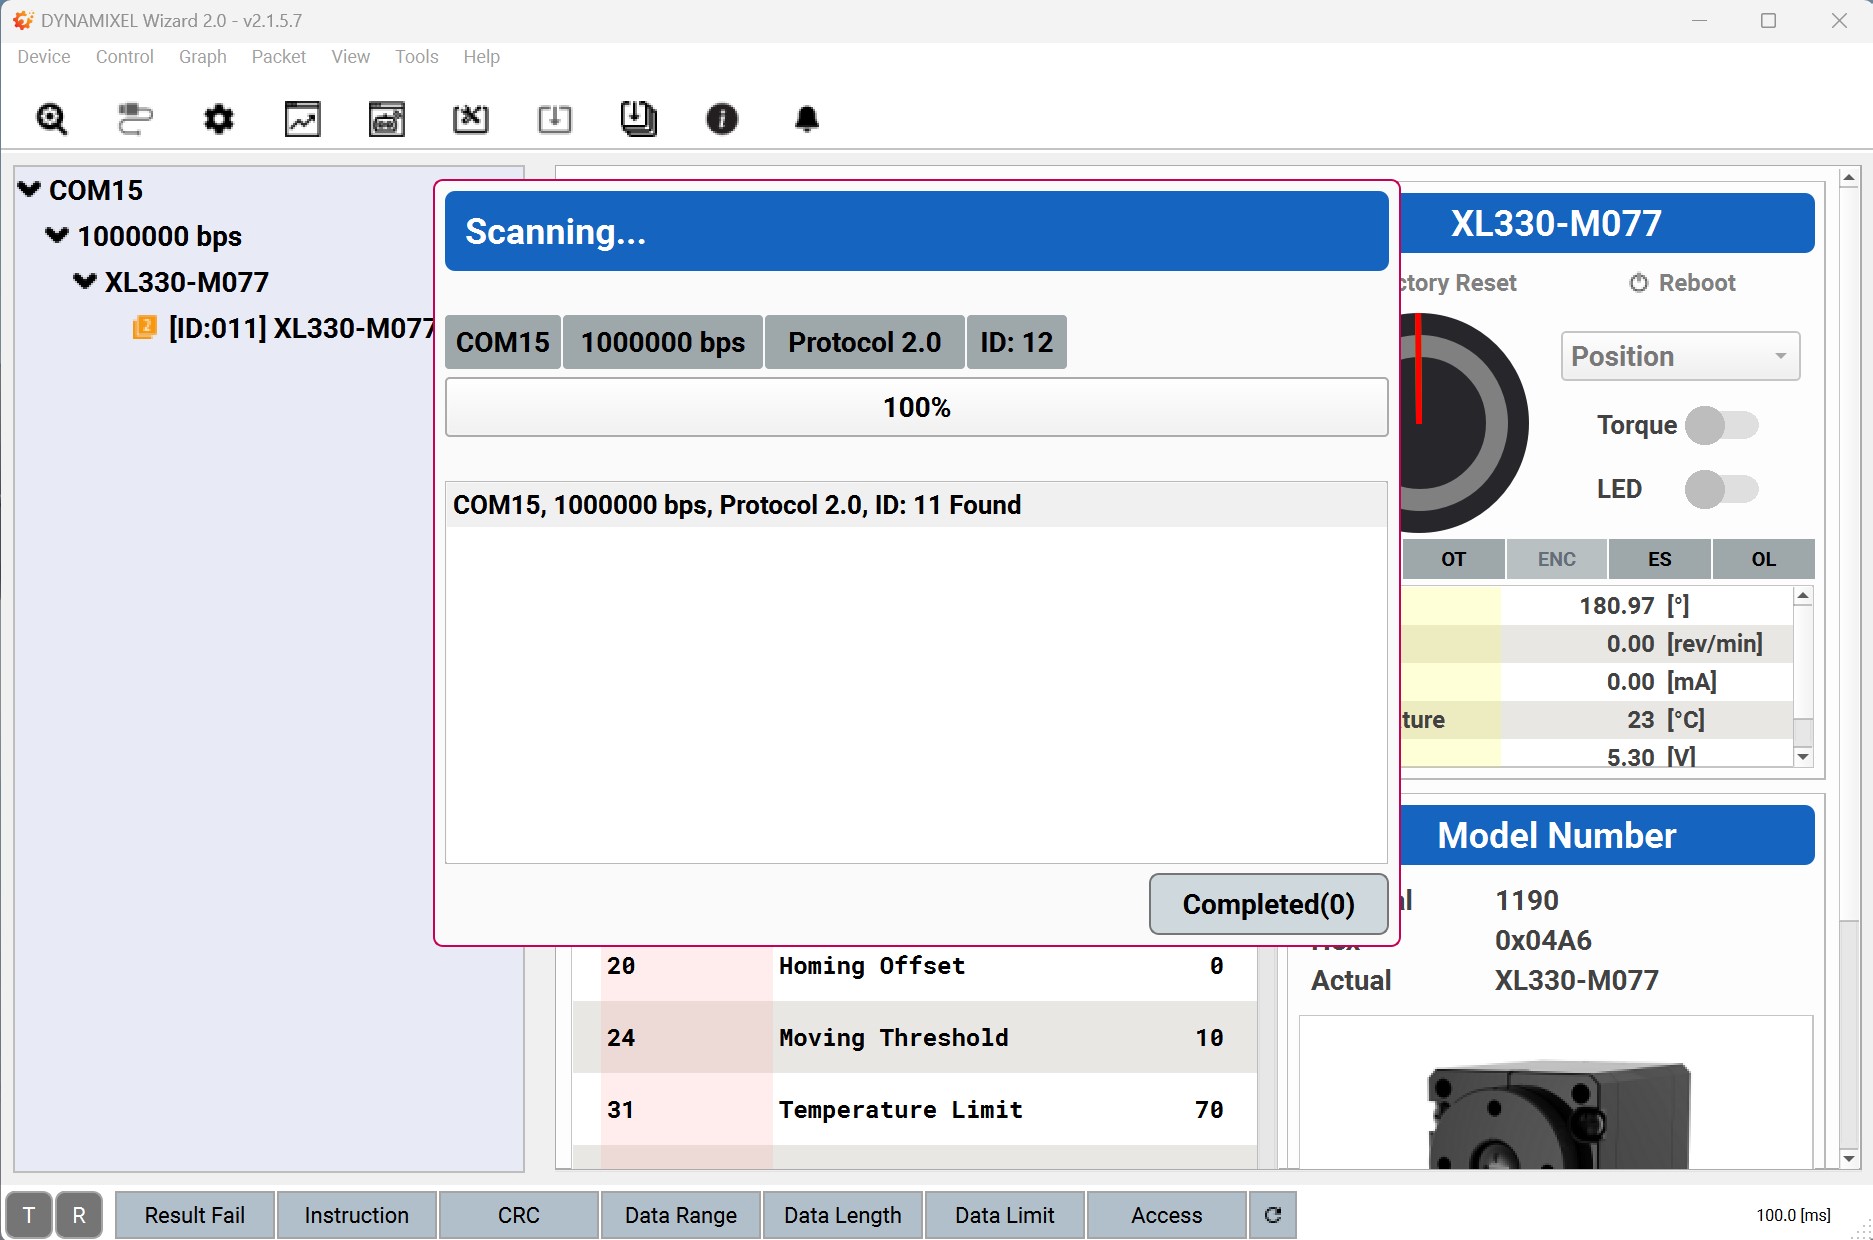
Finish_Scan

And you can TORQUE ON and check if you can set Goal Position OK.
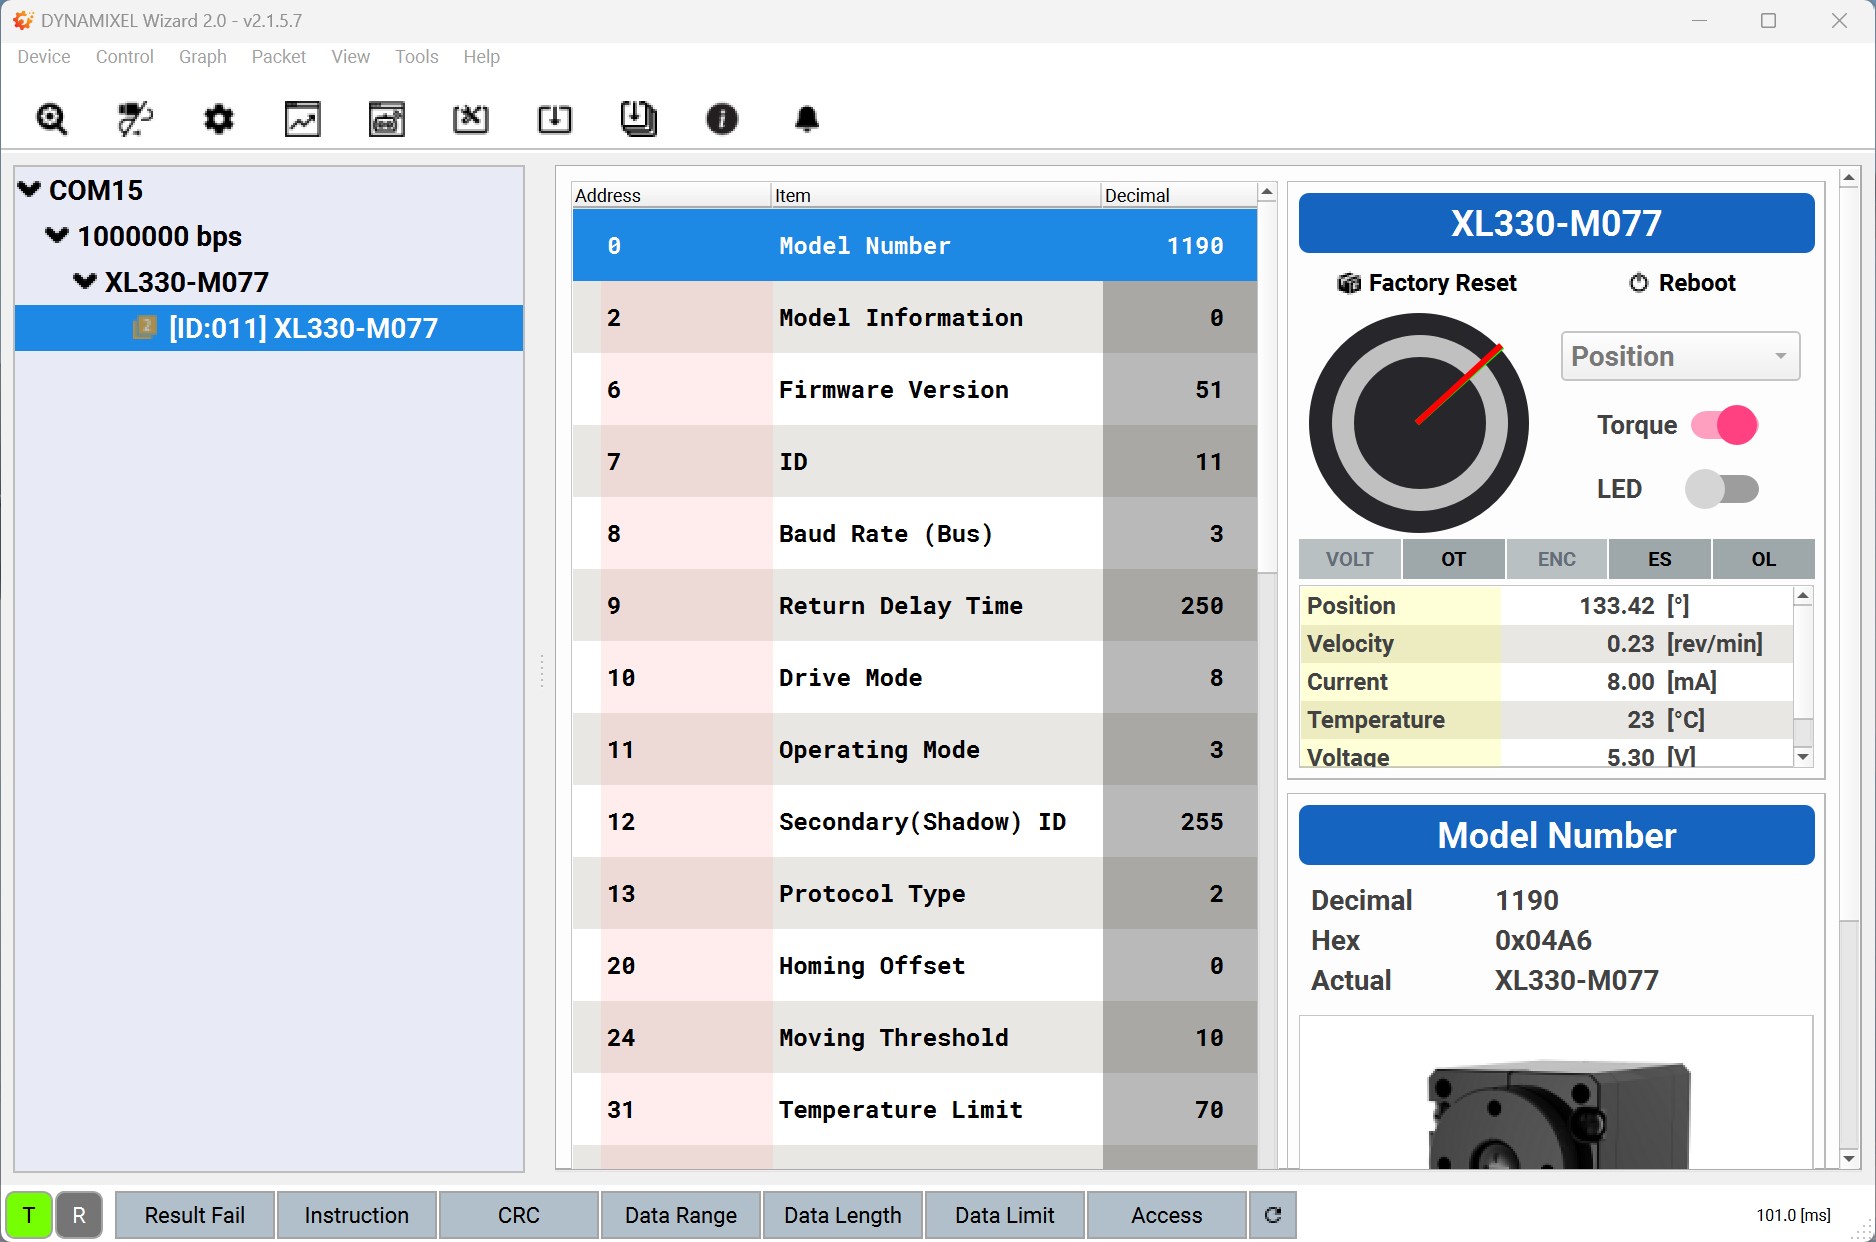
Torque_On_Test

IF DXL NOT WORKING PROPERLY, we’ll have to do a Firmware Recovery. So next, choose Firmware Management:
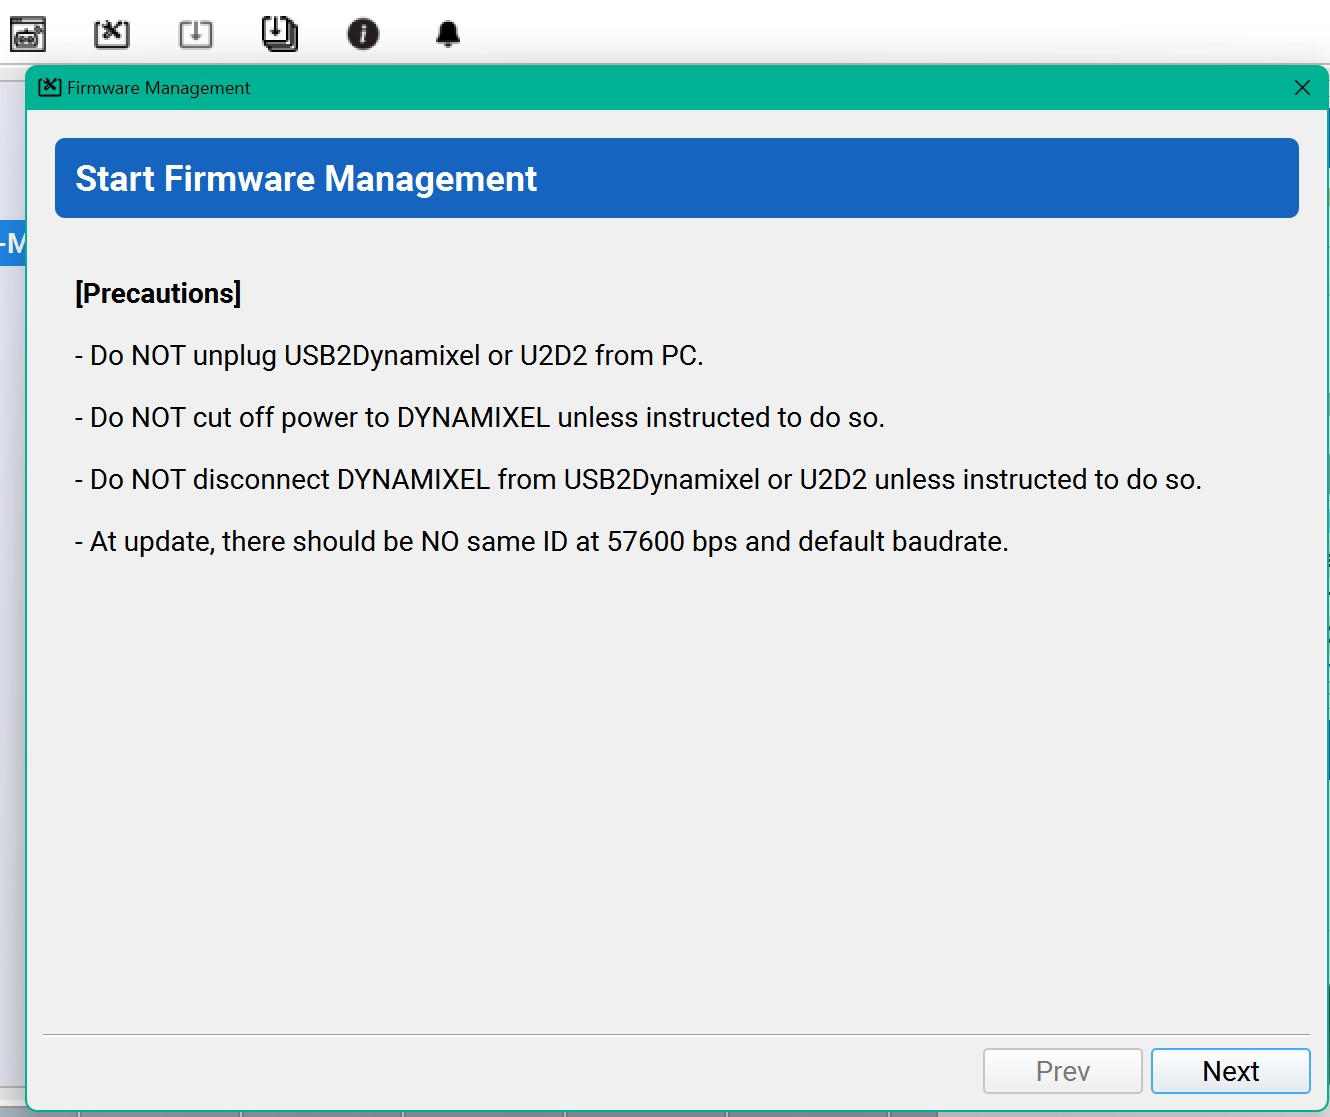
Firmware_1

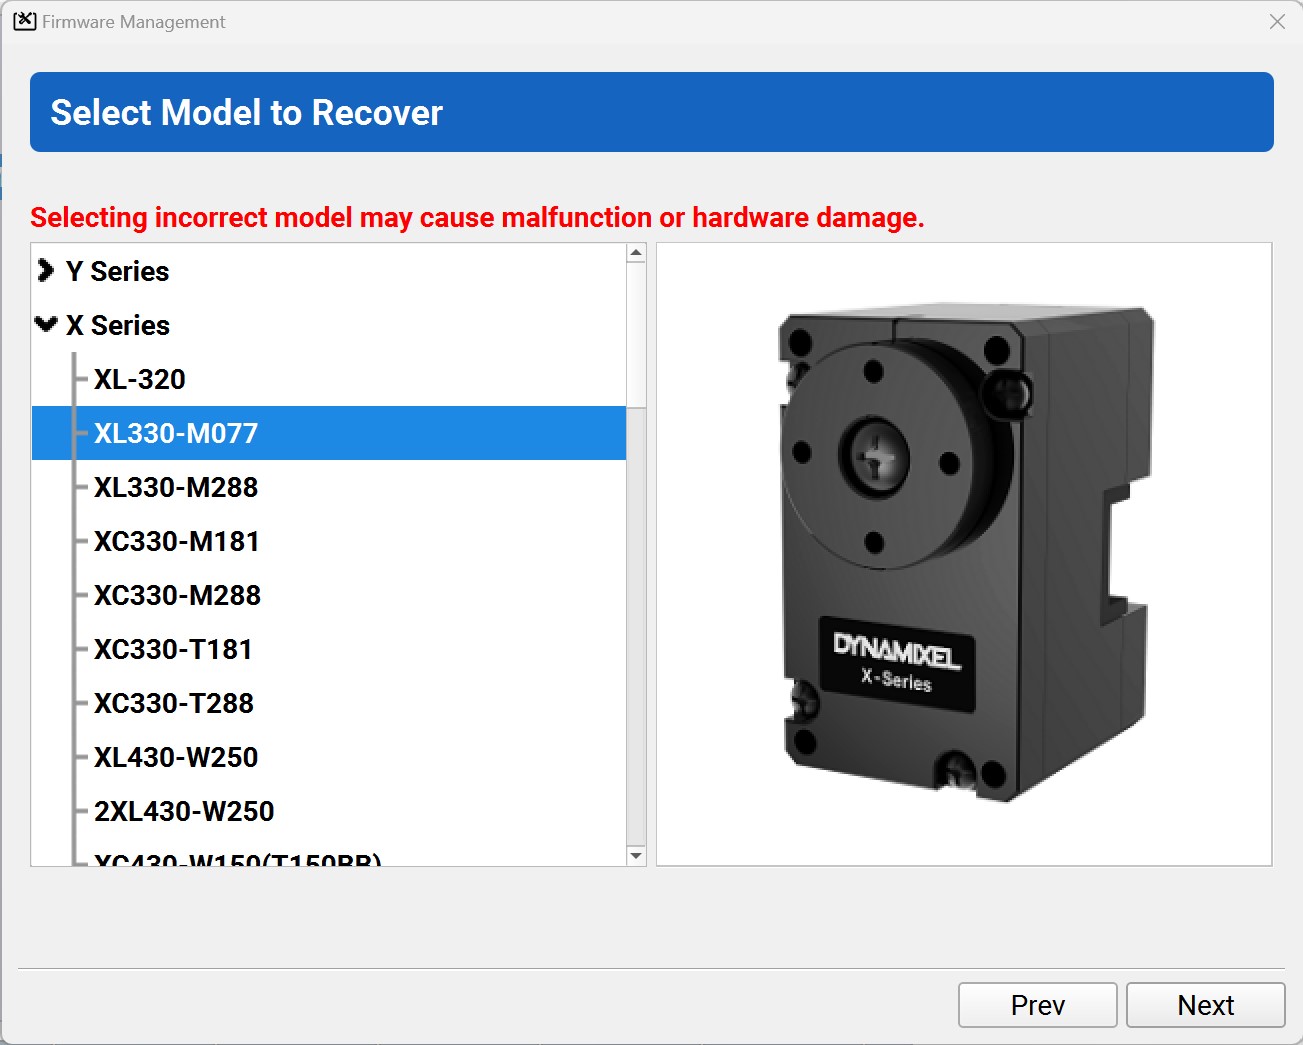
Choose correct DXL

ChooseCorrectDXL

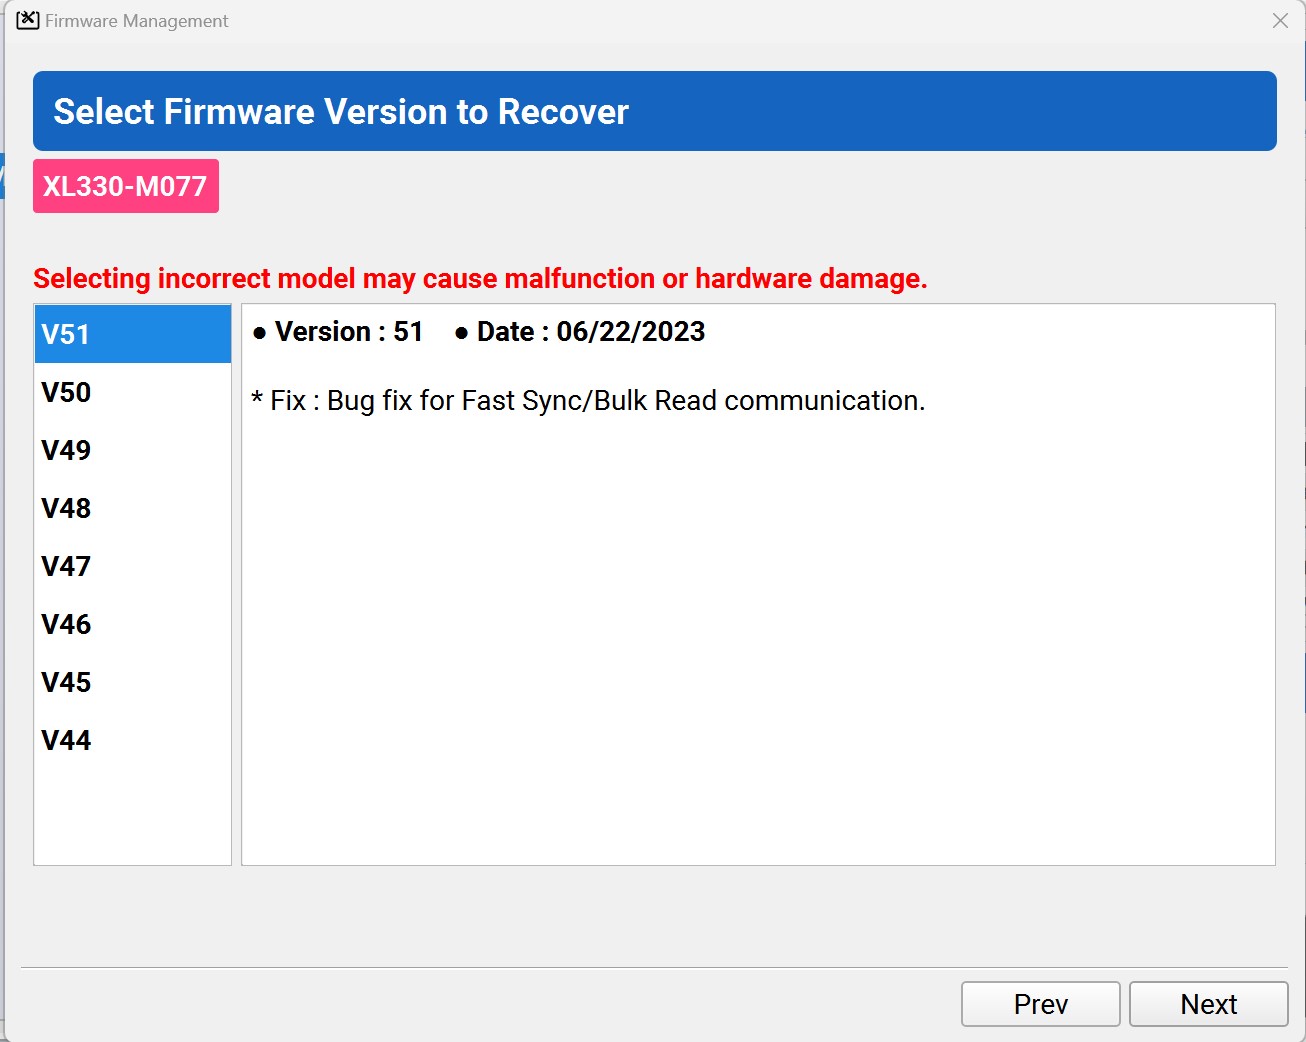
Choose wanted Firmware Version

SelectFirmwareVersion

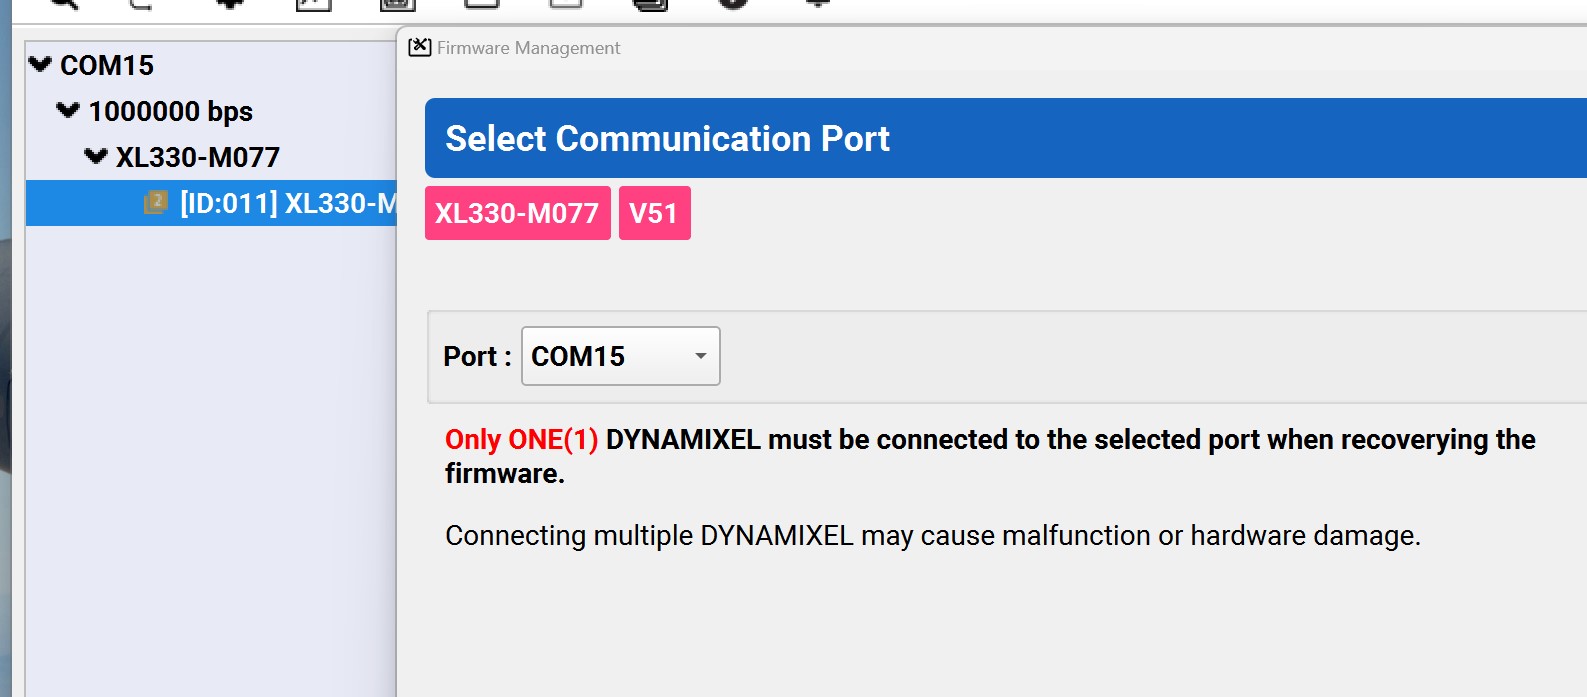
Select Correct COM Port

SelectCorrectCOMPort

Then Dynamixel Wizard will ask you to POWER DOWN your DXL then POWER it UP again. The best way to do this operation is UNPLUG-REPLUG the TTL cable at the 3-pin connector on your DXL and NOT at the OpenRB-150 DXL Ports.
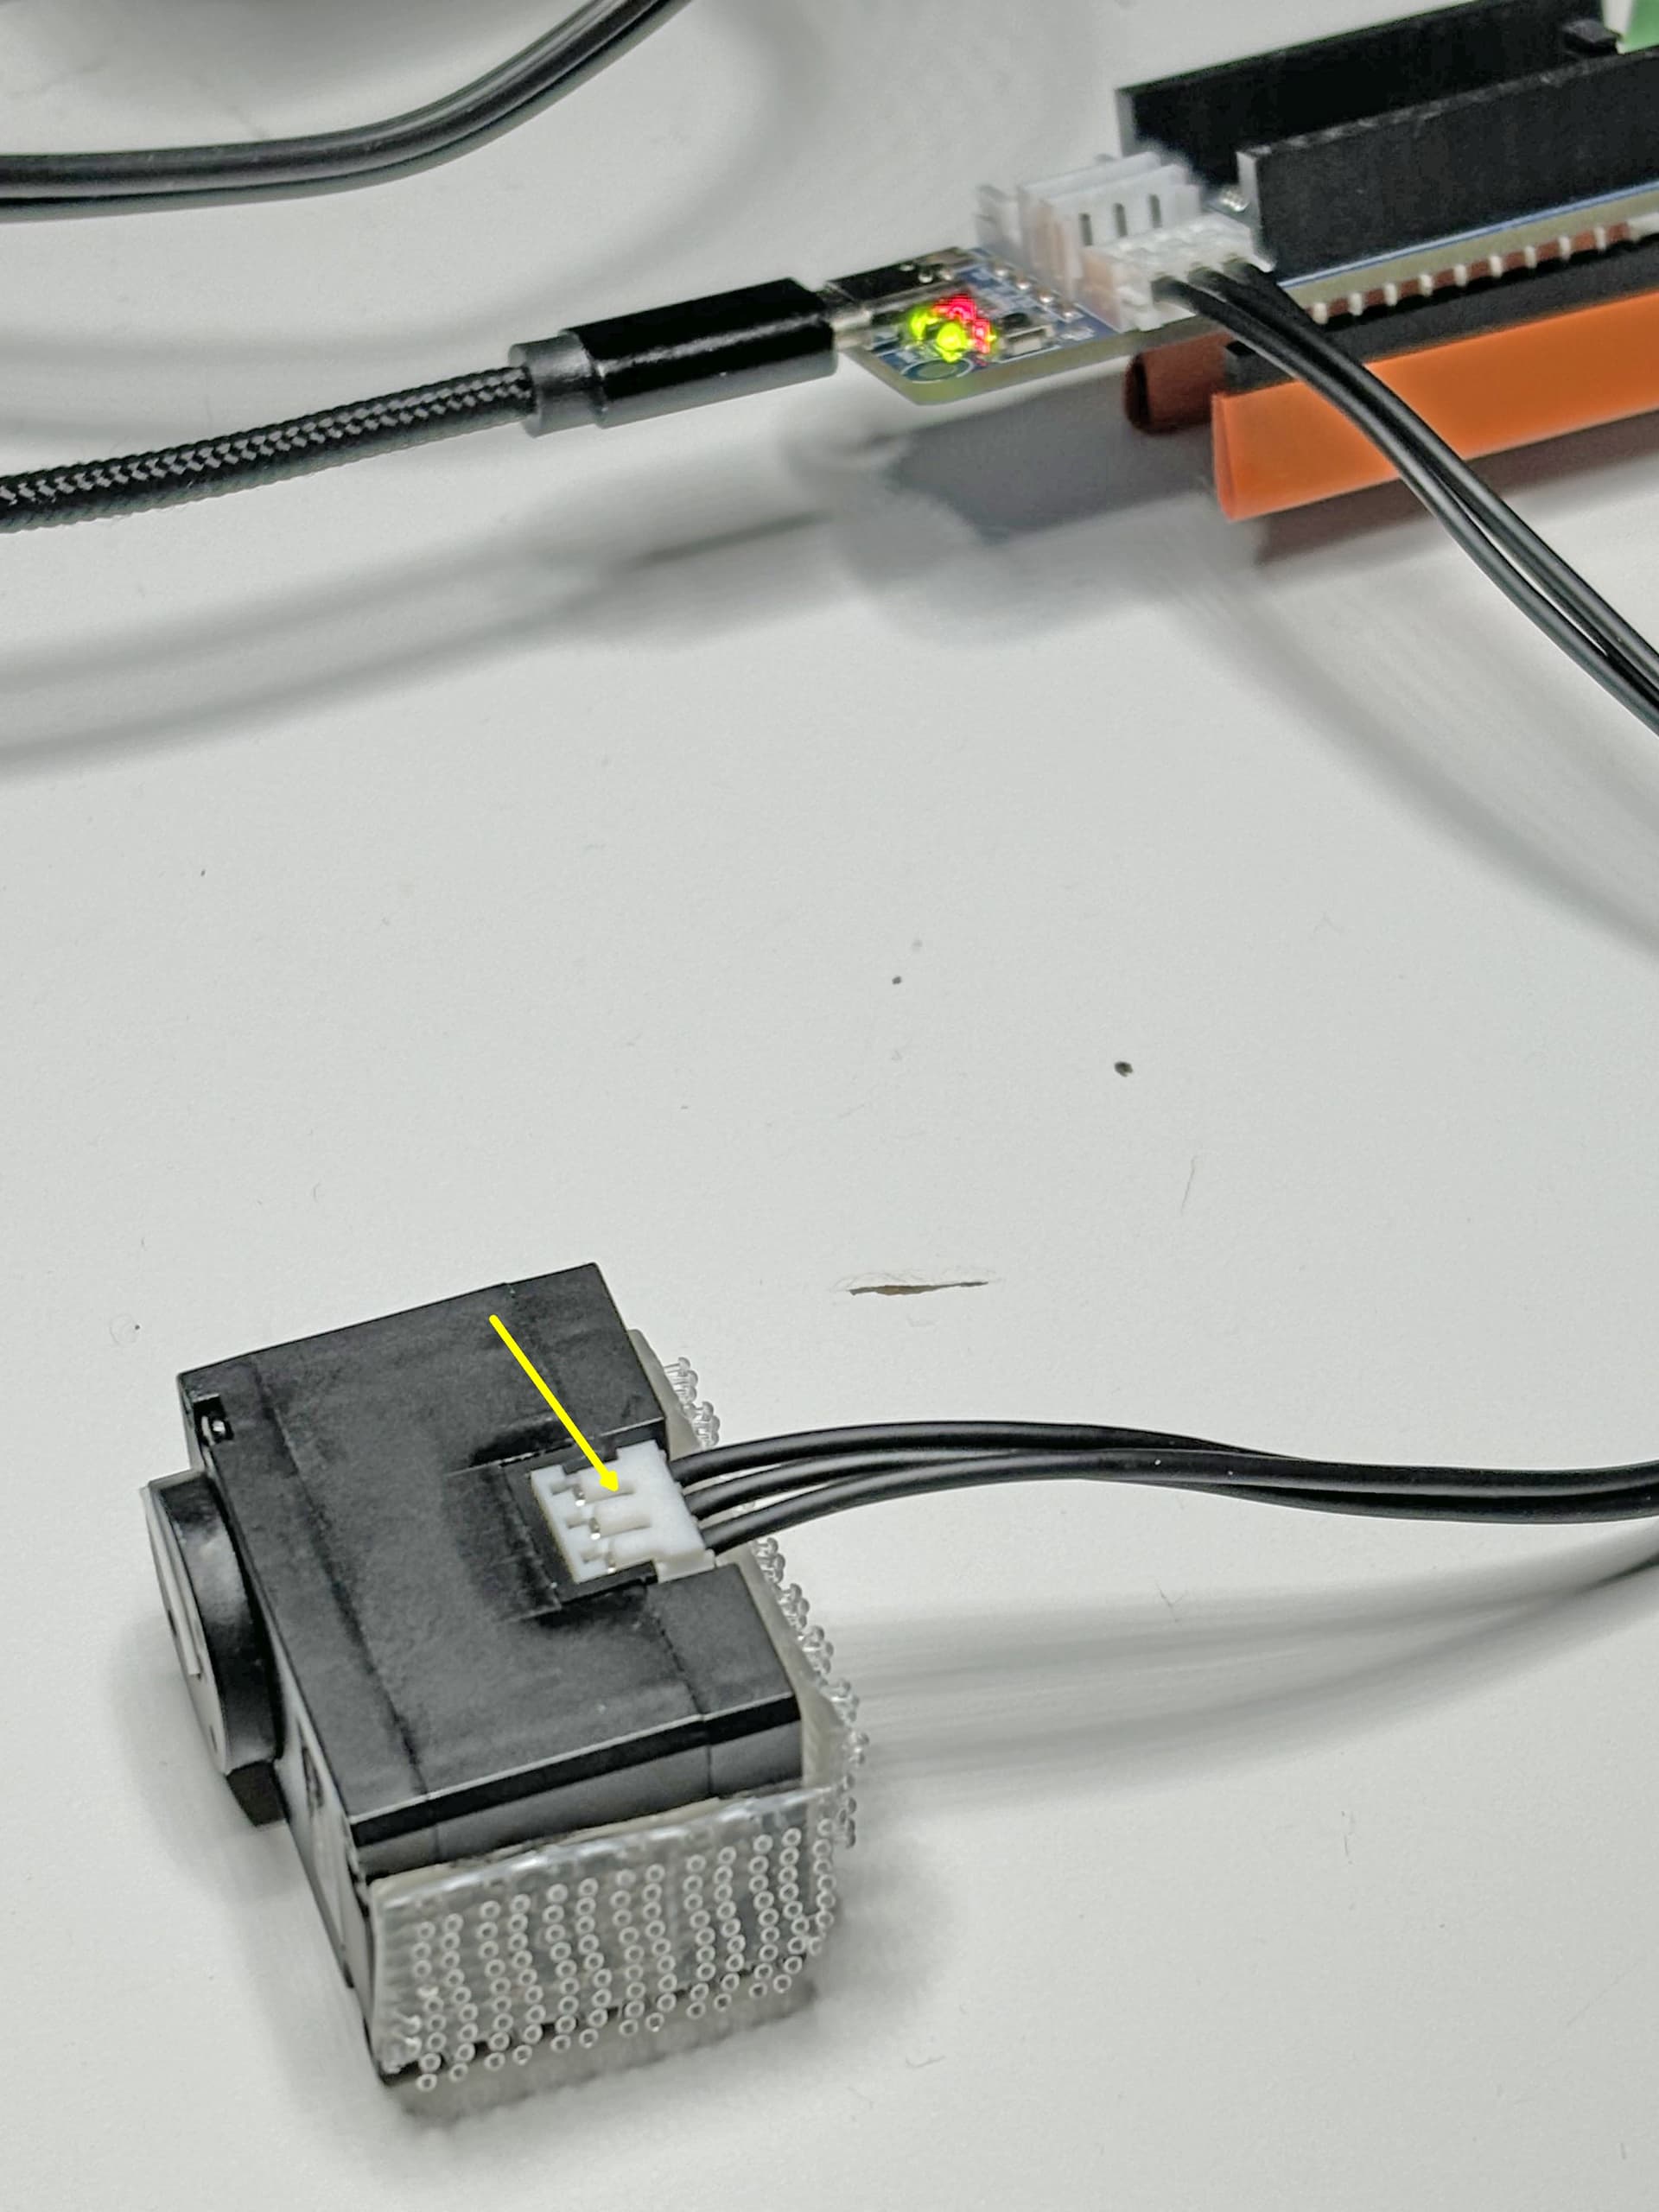
PlugUnplug_DXL_Connector

At this point, you should see the Firmware Downloading process
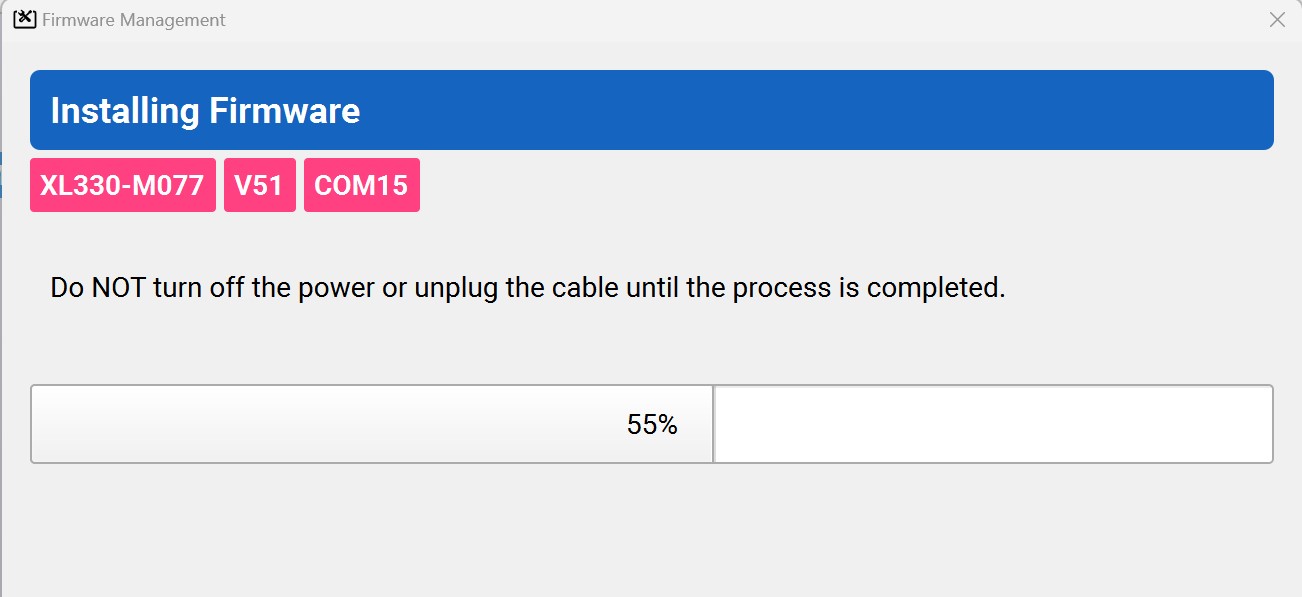
FirmwareRecovery_1

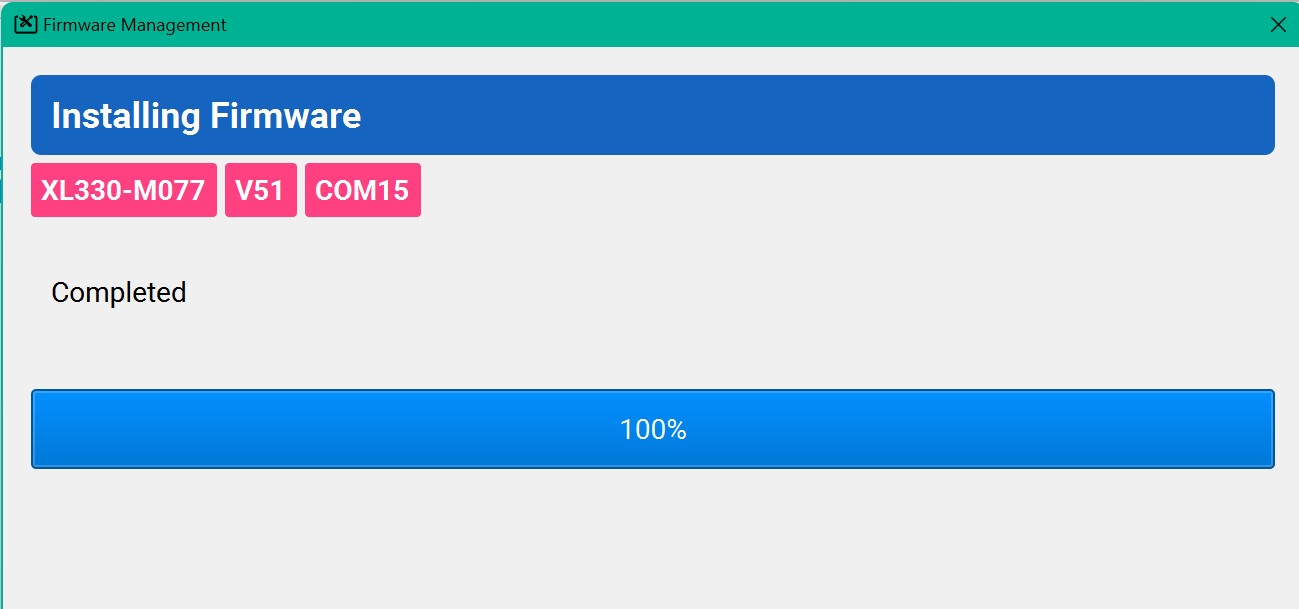
Until it is completed

FirmwareRecovery_2

FirmwareRecovery_3

The DXL will be reset to the Factory Default Settings so you need to TORQUE OFF and check the ID, Baud Rate and the Operating Mode parameters to see if they are set to the Values that you want/need:
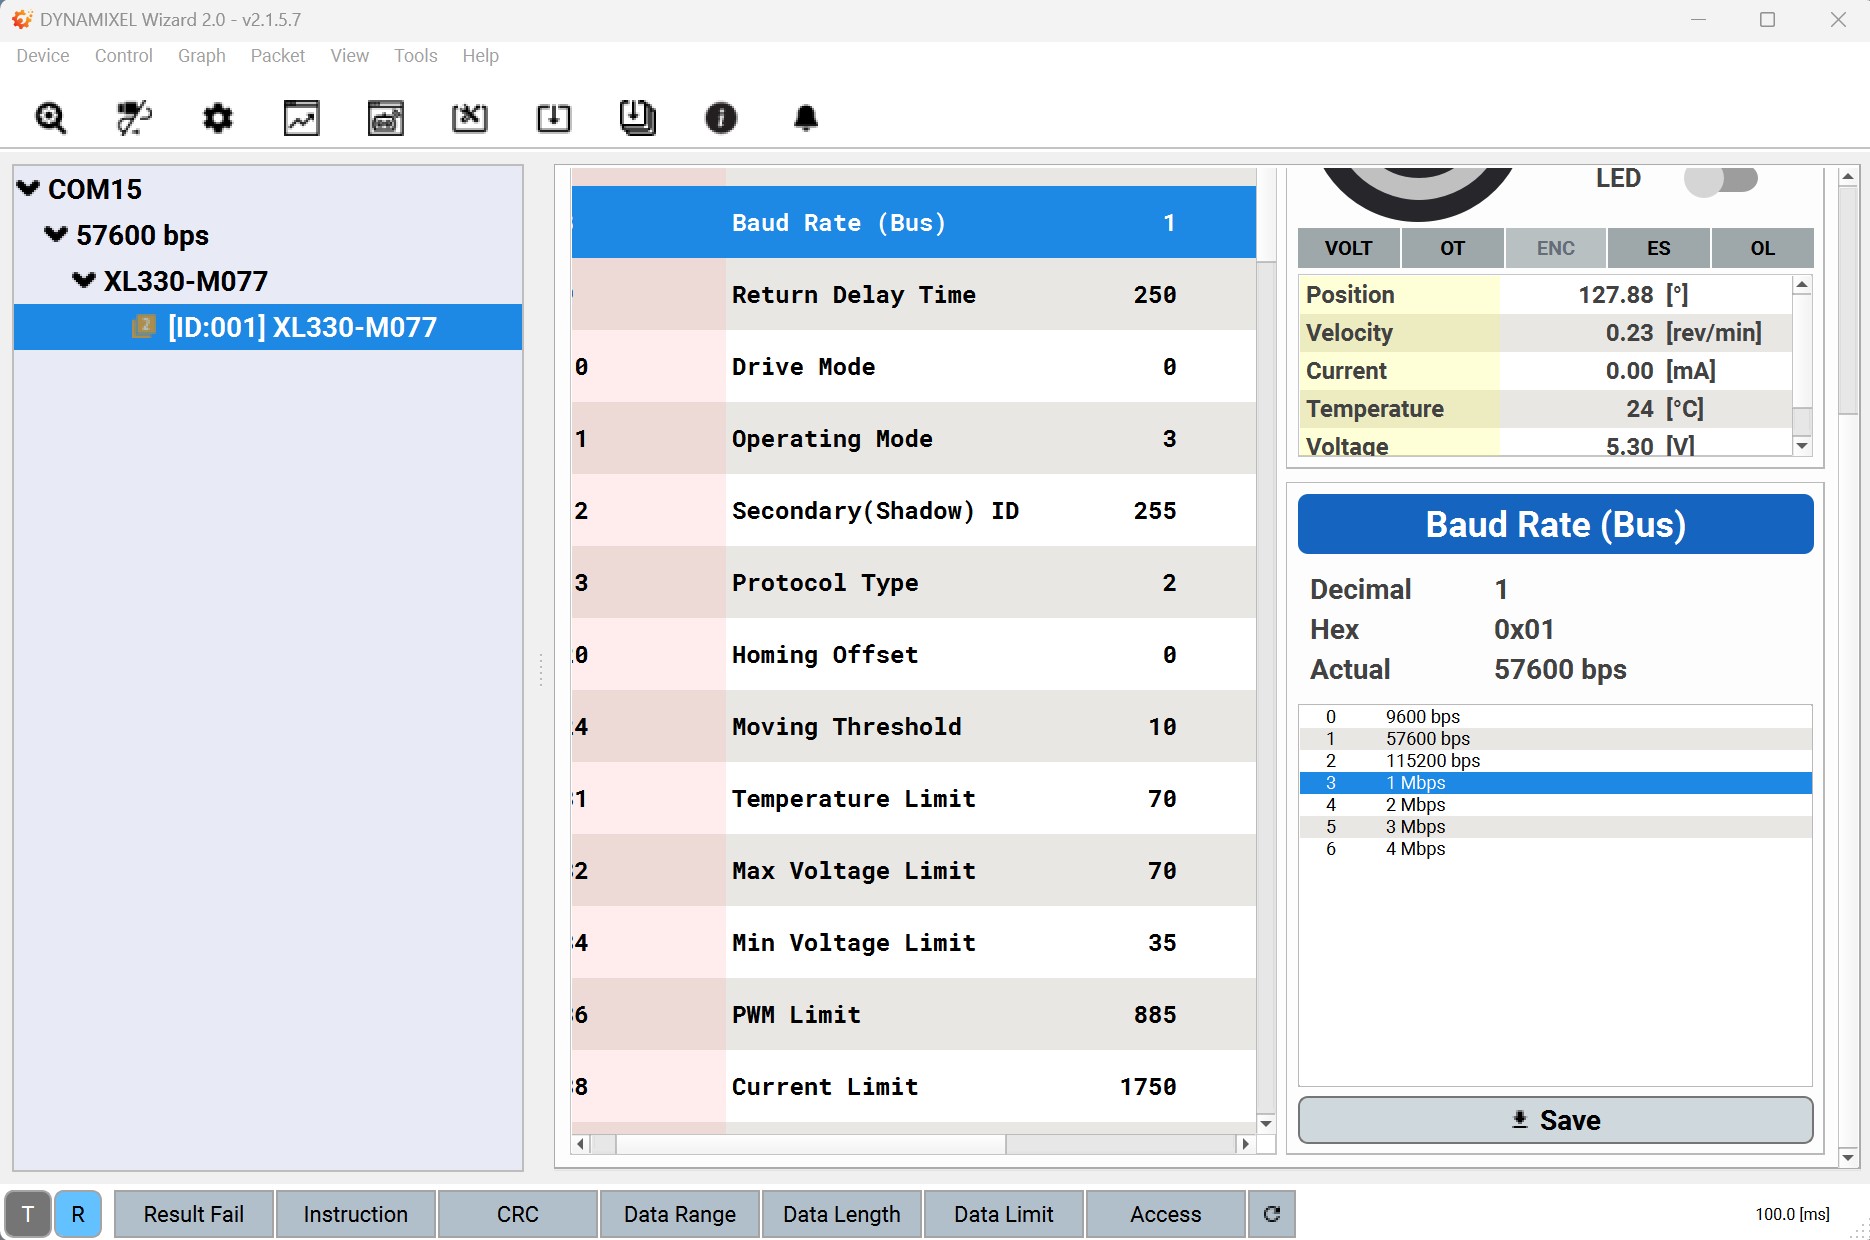
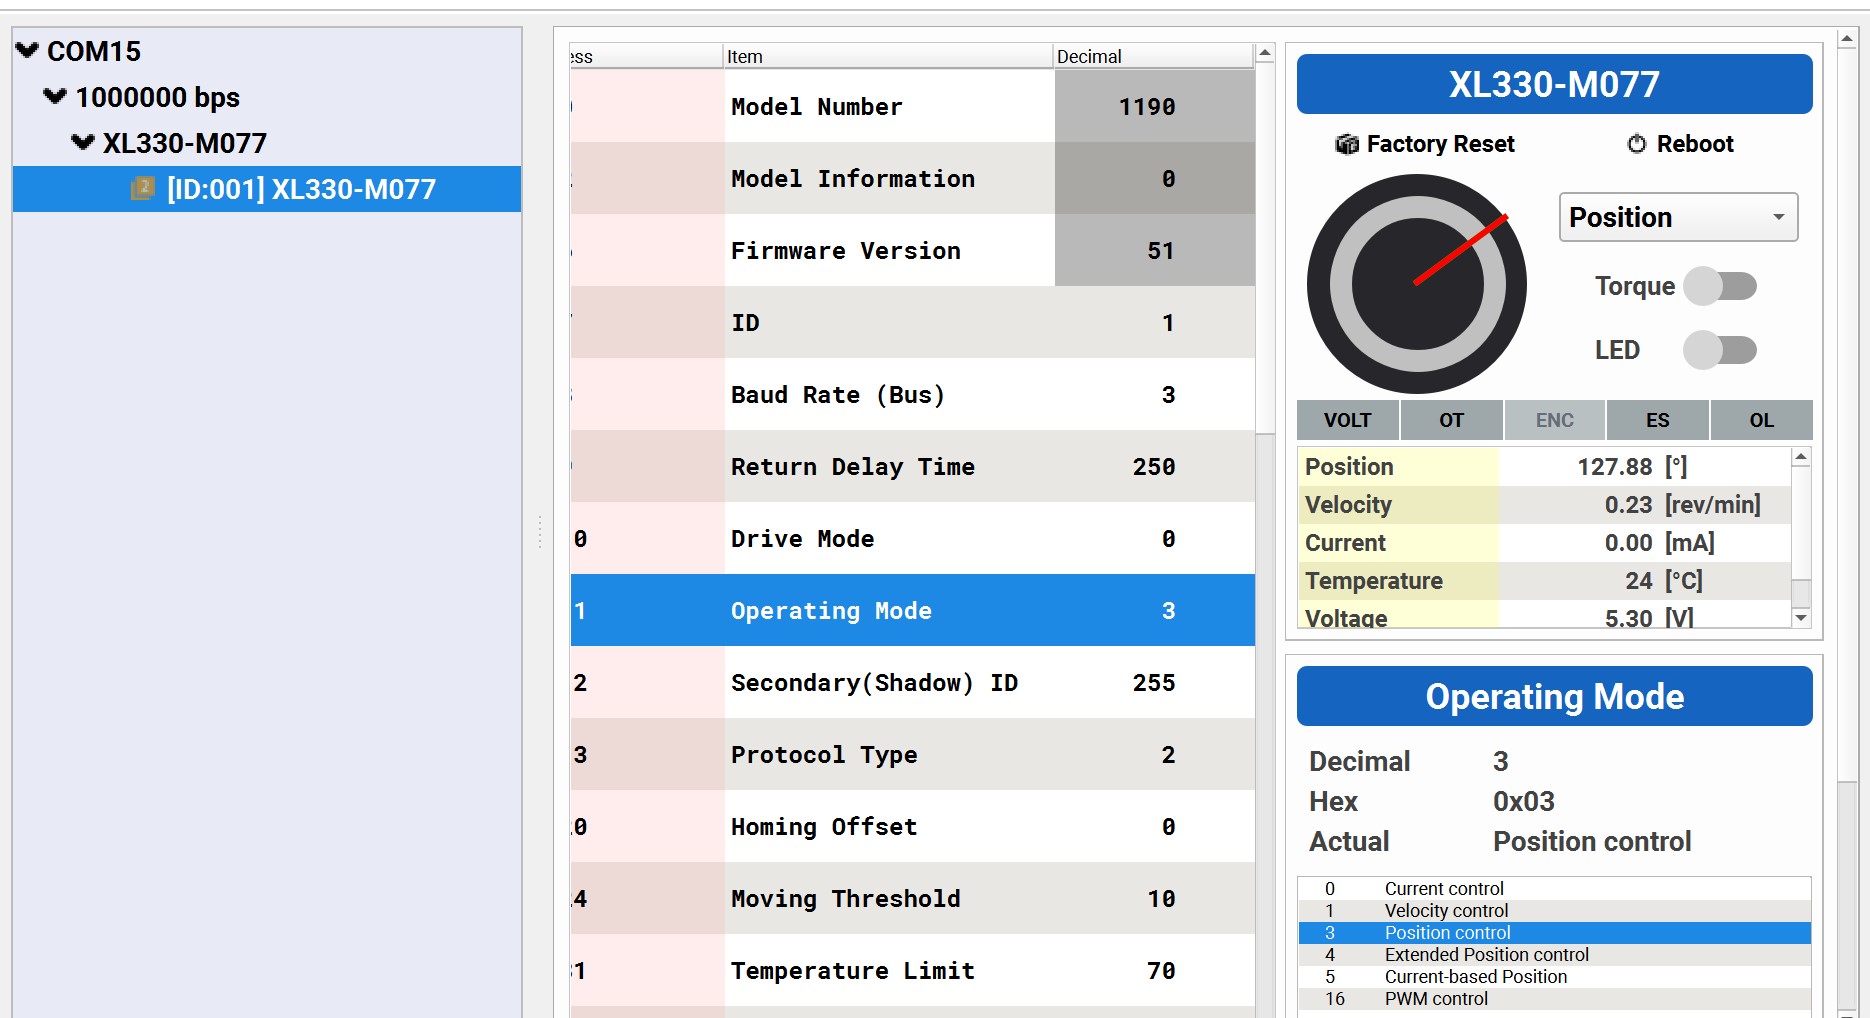
SaveBaudRate

SetOperatingMode

Then TORQUE ON and do your final check on your DXL.
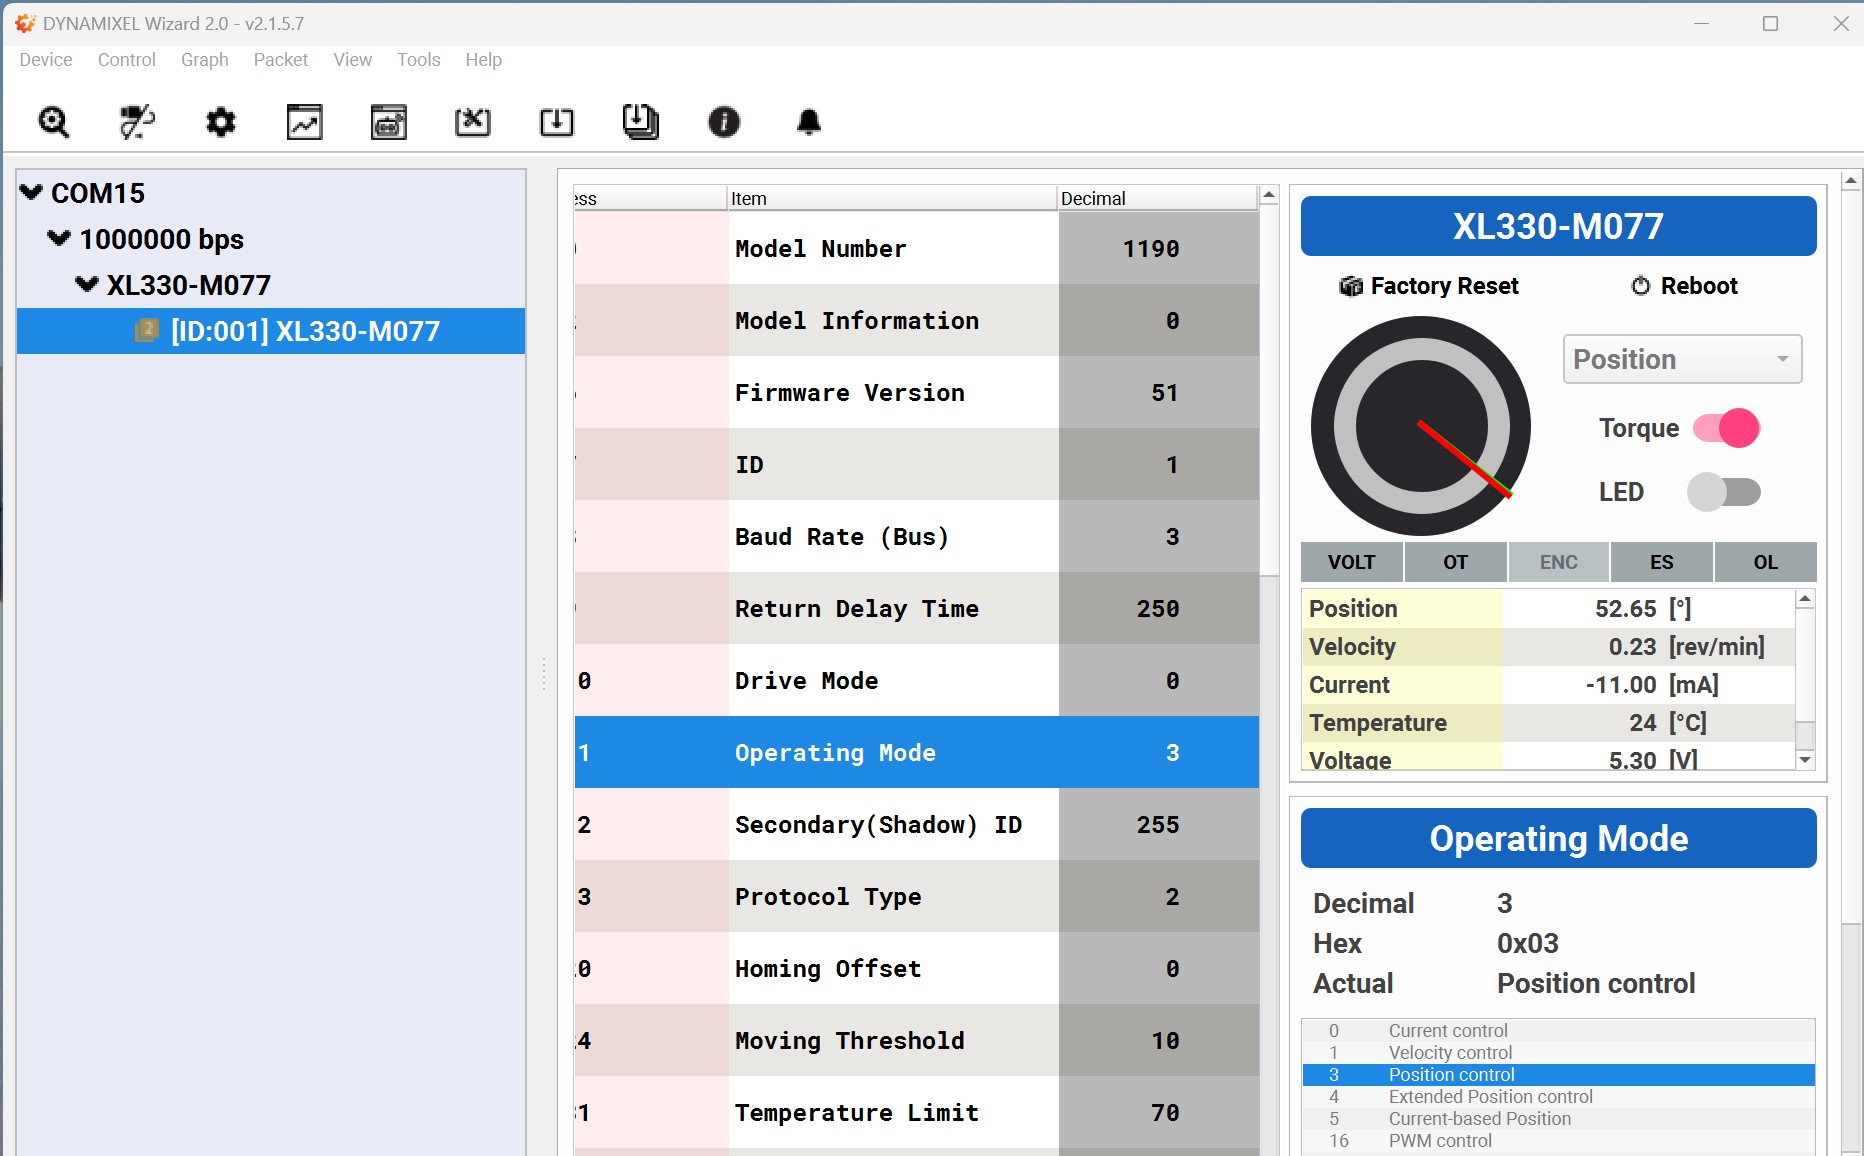
Final_Check