Issue:
Hi Team,
I am currently working on a project with a WidowX 250 6DOF arm which uses seven XM430-W350 and two XL430-W250 Dynamixel motors. Attached below is the code used to control the manipulator. The arm moves from its initial position to a goal position specified by a single set of angles fed into a text file. Despite my inverse kinematics ensuring the end effector remains parallel to the ground, this does not seem to be the case in practice.
To achieve smoother motion, I have introduced velocity and acceleration profiles. However, I believe this might be causing issues with the way the arm moves, resulting in the end effector occasionally hitting the ground. I have attached a video for reference to illustrate the problem.
Thank you!!
DYNAMIXEL Servo: seven XM430-W350 and two XL430-W250
LIST ALL DYNAMIXEL SERVOS USED IN THIS PROJECT
DYNAMIXEL Controller:
LIST ALL DYNAMIXEL CONTROLLERS USED IN THIS PROJECT
The angle measurements work for me. Its just the way the zero position was configured. My problem is with the way it moves when i use profile velocity and acceleration. Motors moves in sequential order making my end effector hit the ground and not stay parallel.
Does the ground collision not occur when the profile velocities and acceleration are set to the default? I believe the default behavior is maximum acceleration and velocity, so adjusting the velocity and acceleration setting higher might resolve the issue.
The motors will always activate in sequential order, since you are sending the command packets out sequentially in your python script.
If you want to be “extra precise”, you should scale 360 degrees to “4096” and not “4095”, as 0 degree and 360 degree correspond to the same physical position of the horn, and “4095” is just a tiny bit shy of 360 degrees.
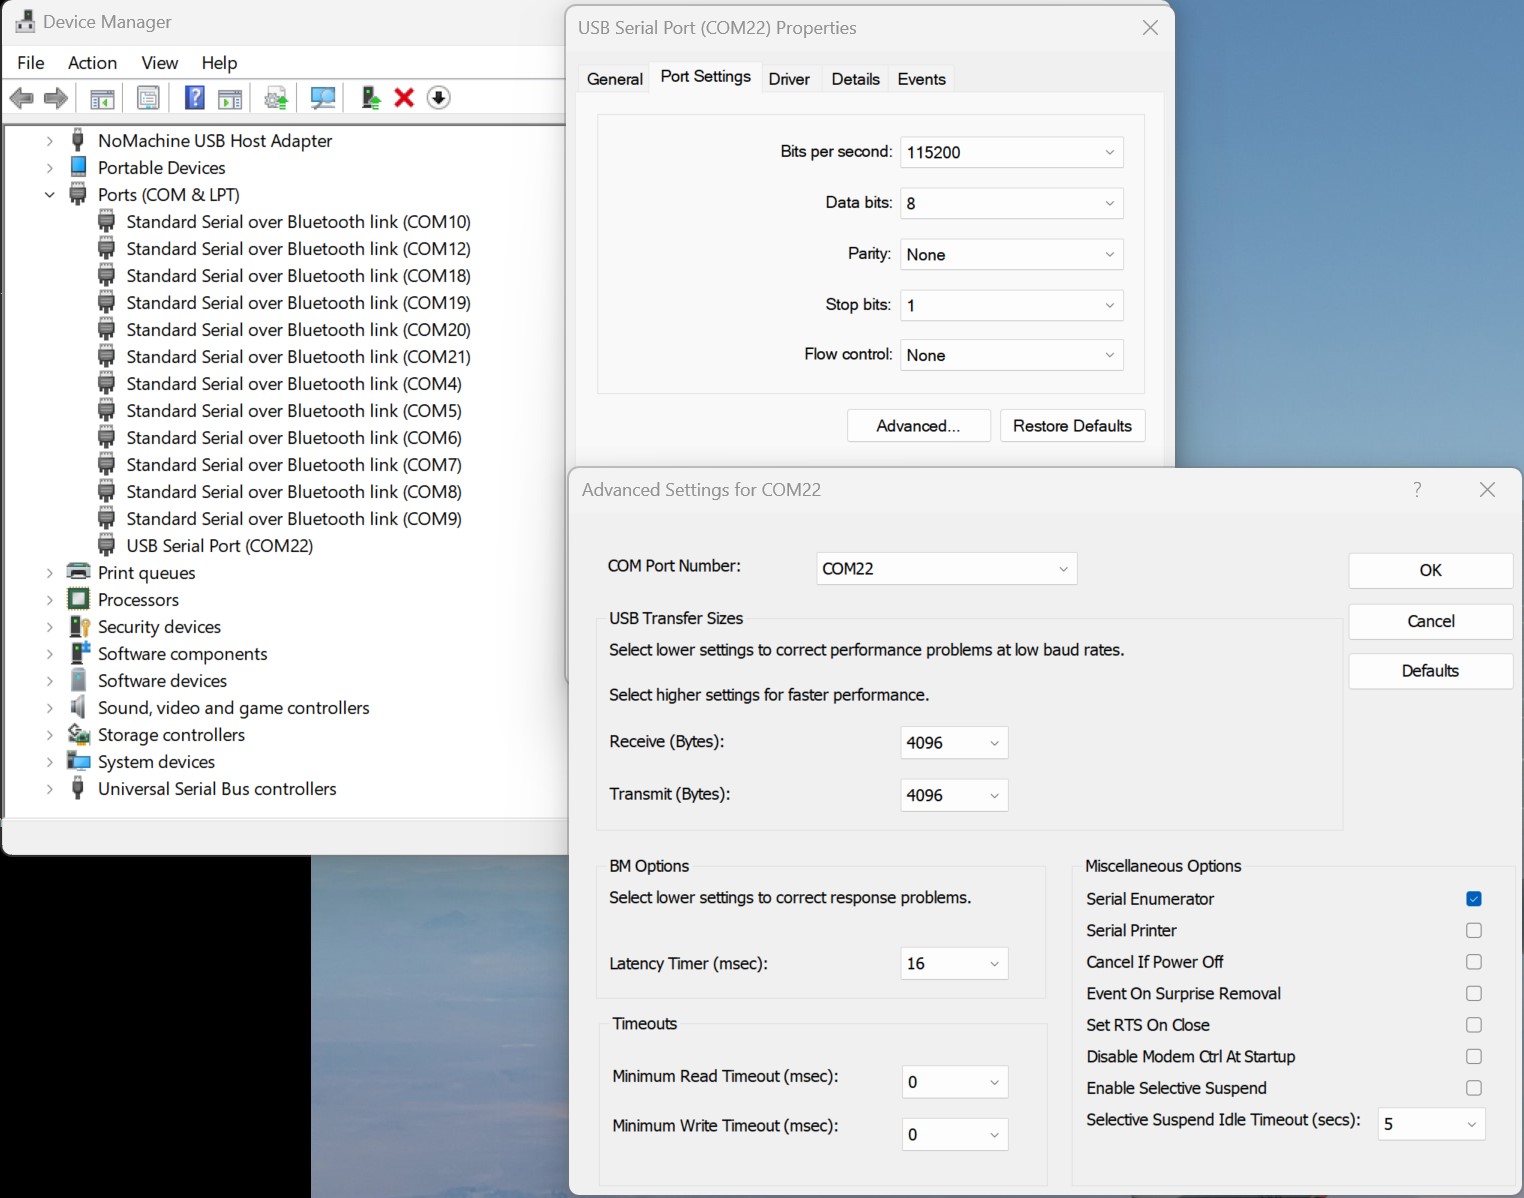
I also see that your serial port is named “COM18”, so I am going to assume that you are using a Windows PC as your Python platform, and that you are using a U2D2 module to communicate with the DXLs. In that case, there are two “tweaks” that you can try - if you have not already done so:
Reduce USB Latency Timer from 16 ms to 1 ms. ROBOTIS e-manual has a FAQ item for it at this link.
So you’ll have to change this value inside “port_handler.py” and also inside Windows Device Manager (my U2D2 happens to be COM22 in the picture below). Drill in your COM18, under Advanced Settings to change the USB Latency Timer.
Start using/adapting “sync_read_write.py” to your needs, i.e. using groupSyncWrite and groupSyncRead.
Essentially, these two tweaks will send a big packet to all DXLs “at the same time” (as much as possible) - so definitely “faster” than a Python FOR Loop.
Also in case you need some more insight into the interplay between Profile Acceleration and Profile Velocity, you can watch this YouTube video
If you need even more details, you can check out the free Kindle sample here:
So I am updating the angles.txt continuously, and if the leave the velocity and acceleration profile to default then the motion is not smooth. If I interpolate the angles from initial to goal by this method how can I achieve a smoother motion?
It it possible to use sync write along with velocity and acceleration profile so that I can get a smoother motion. Right now my IK interpolates the angles so without velocity profile the motion is not smooth. Also if I just use the profile the angles are executed in order. Is there a way to make sure the angles are executed together when using velocity and acceleration profile? Thank you!
You can sync_write any parameter listed in the Control Table, it is only a matter of choosing the right Control Table address and the correct size of the wanted parameter.
In a previous post I already mentioned the example file sync_read_write.py which should be available when you installed the DXL SDK for Python. Please recheck your installation process.