12/12/2023
I got my RPi5 4 GB yesterday and had been checking it out. I’ll be using this post to document my progress with interfacing the RPi5 to ROBOTIS hardware and software:
Powering: The RPi5 has a so-called ON/OFF button which can be used to shutdown the board, but Power is still maintained at the USB-C connector. Surprisingly, those USB-C cables with Power Switch (that I had been using for my RPi4Bs) did not work with the new 27 W RPi Power Supply. So, at present, I am using this type of outlet switch for the RPi5 Amazon.com to help preserve the integrity of the USB-C connector for long-term usage.
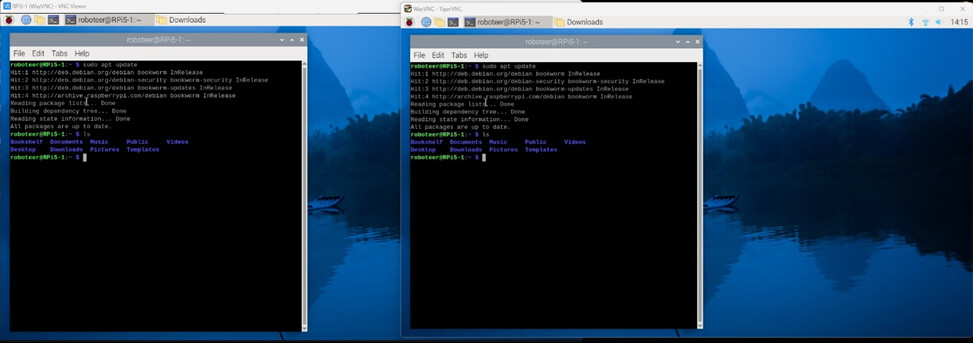
This site recommended to use TigerVNC Viewer on the PC side, but I had found that RealVNC Viewer worked as well. For my eyes, the text character rendering is slightly better with RealVNC Viewer.
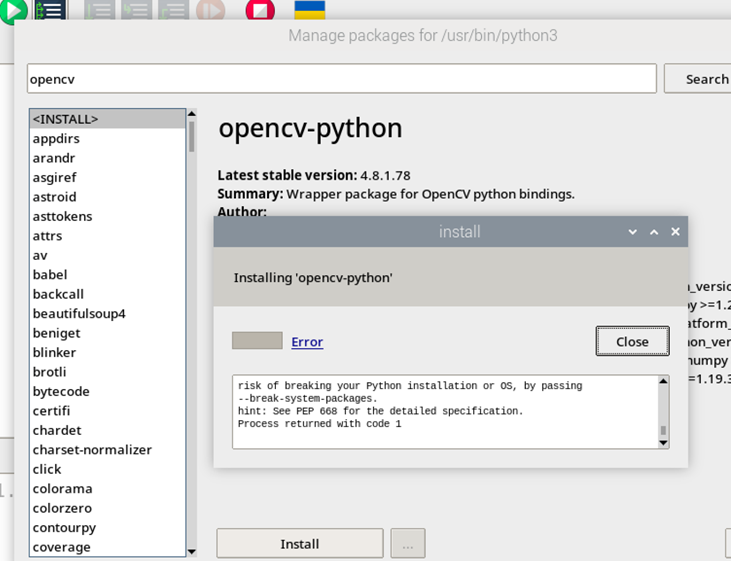
So I will try Visual Studio Code and Python 3 next to work with DXL SDK and OpenCV-Python.
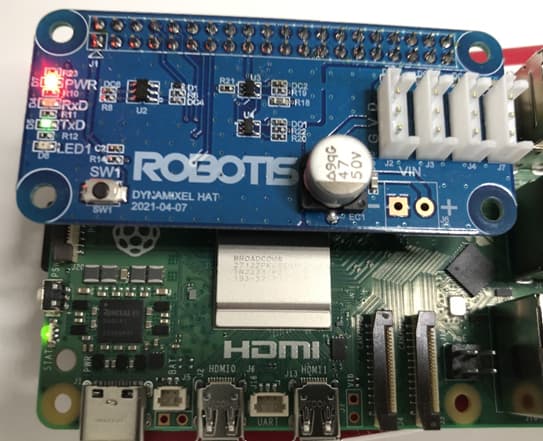
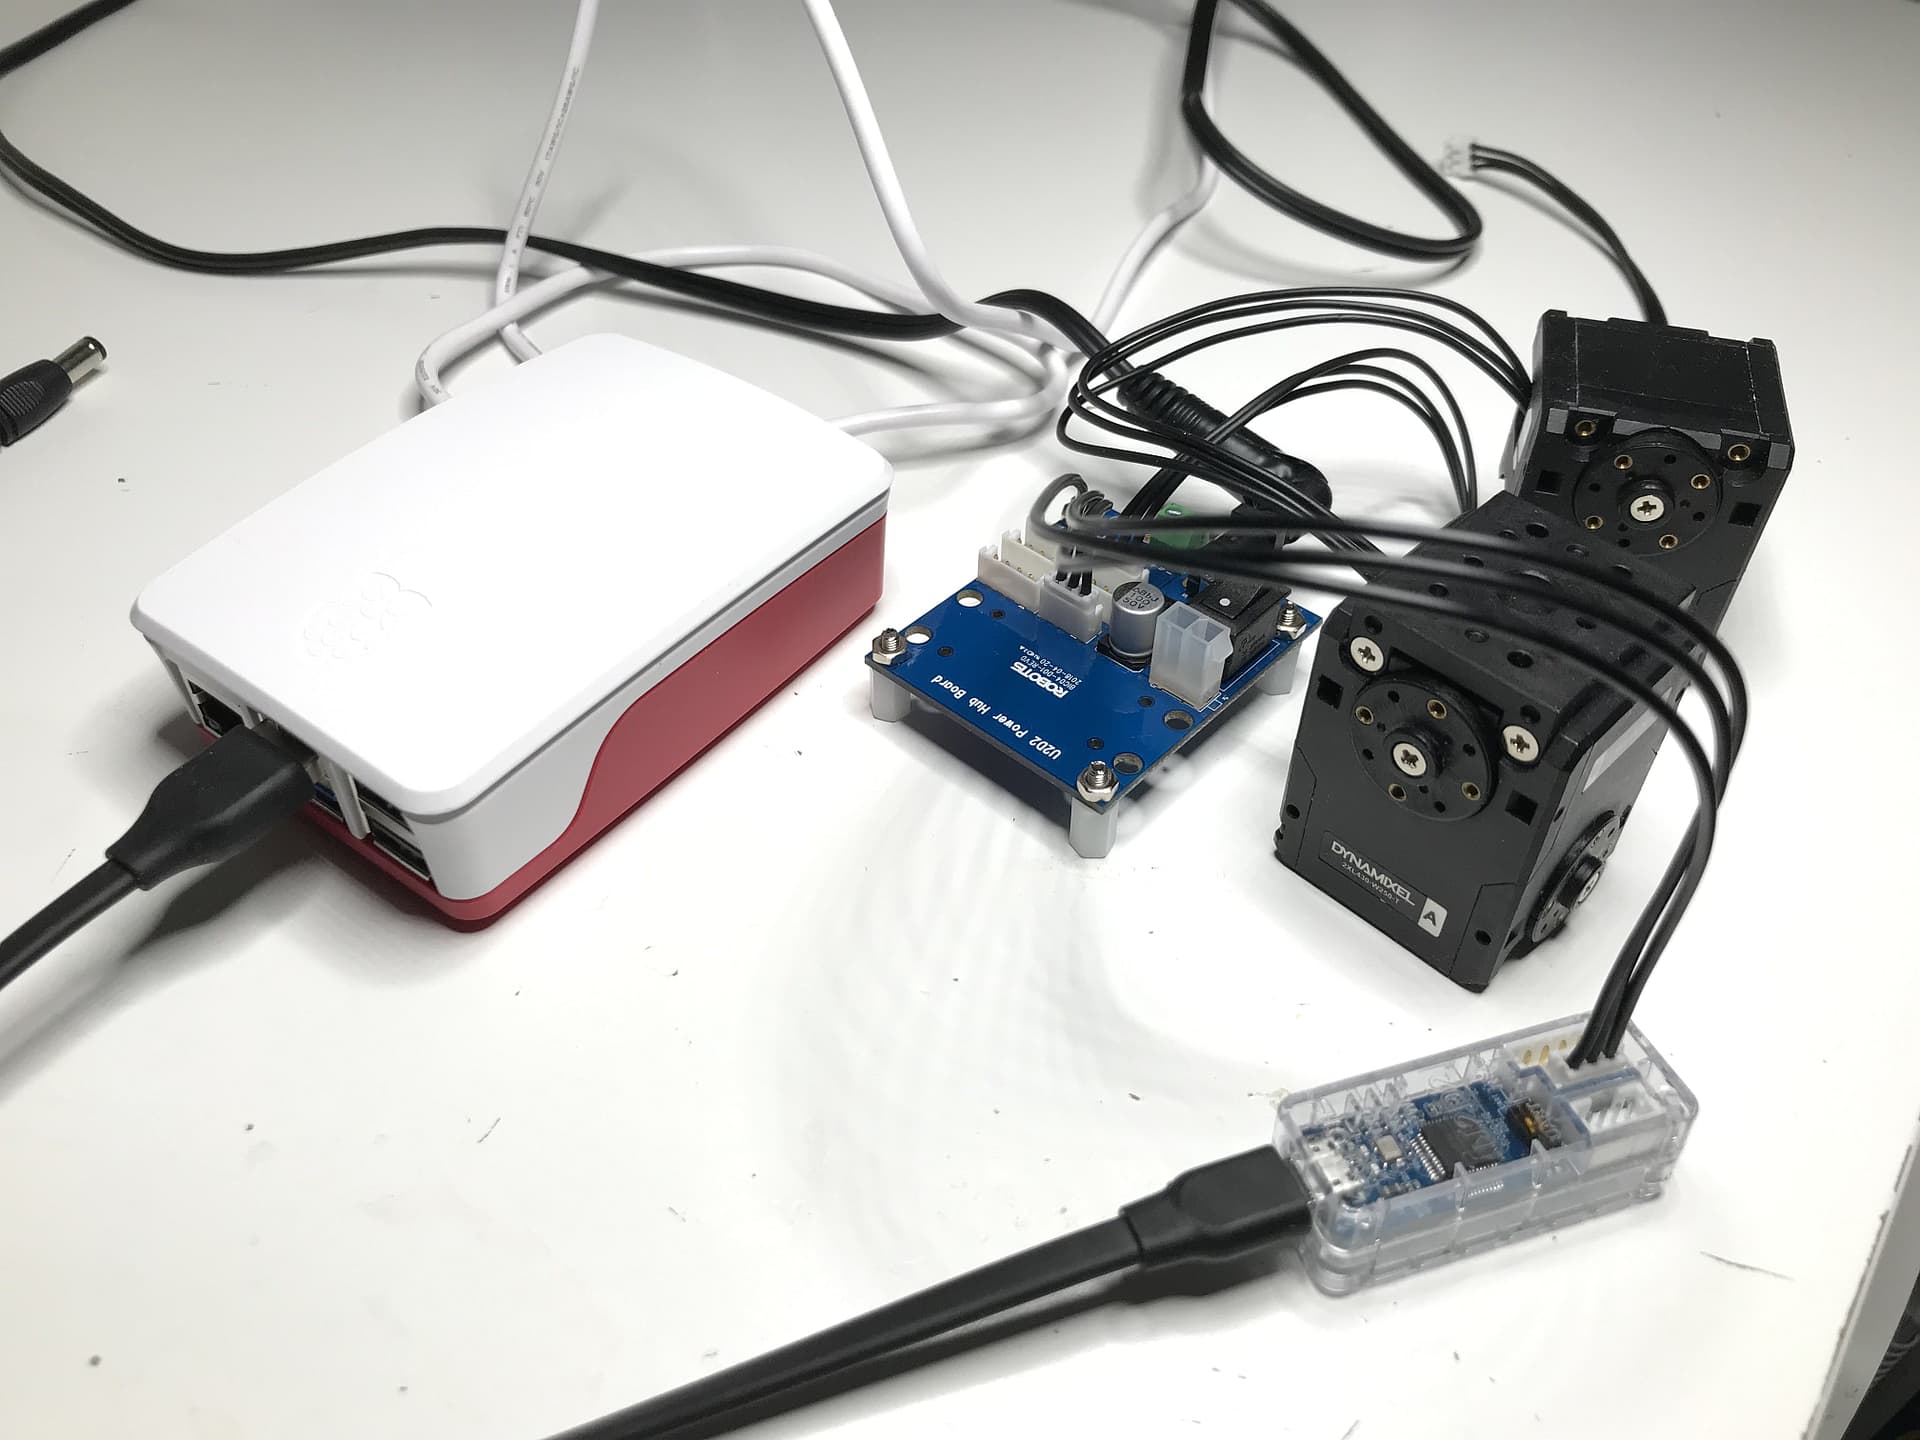
The various Serial Communications modules from ROBOTIS were recognized as ttyUSBx devices (via dmesg): USB2Dynamixel, LN-101, BT-410 USB Dongle, U2D2. The “2021-experimental” RPi DXL-HAT was mapped to ttyS0/Serial0.
And fortunately only a small change was needed to update the paths to various source codes and libraries because the user does not have to use the default pi username anymore with RPi5.
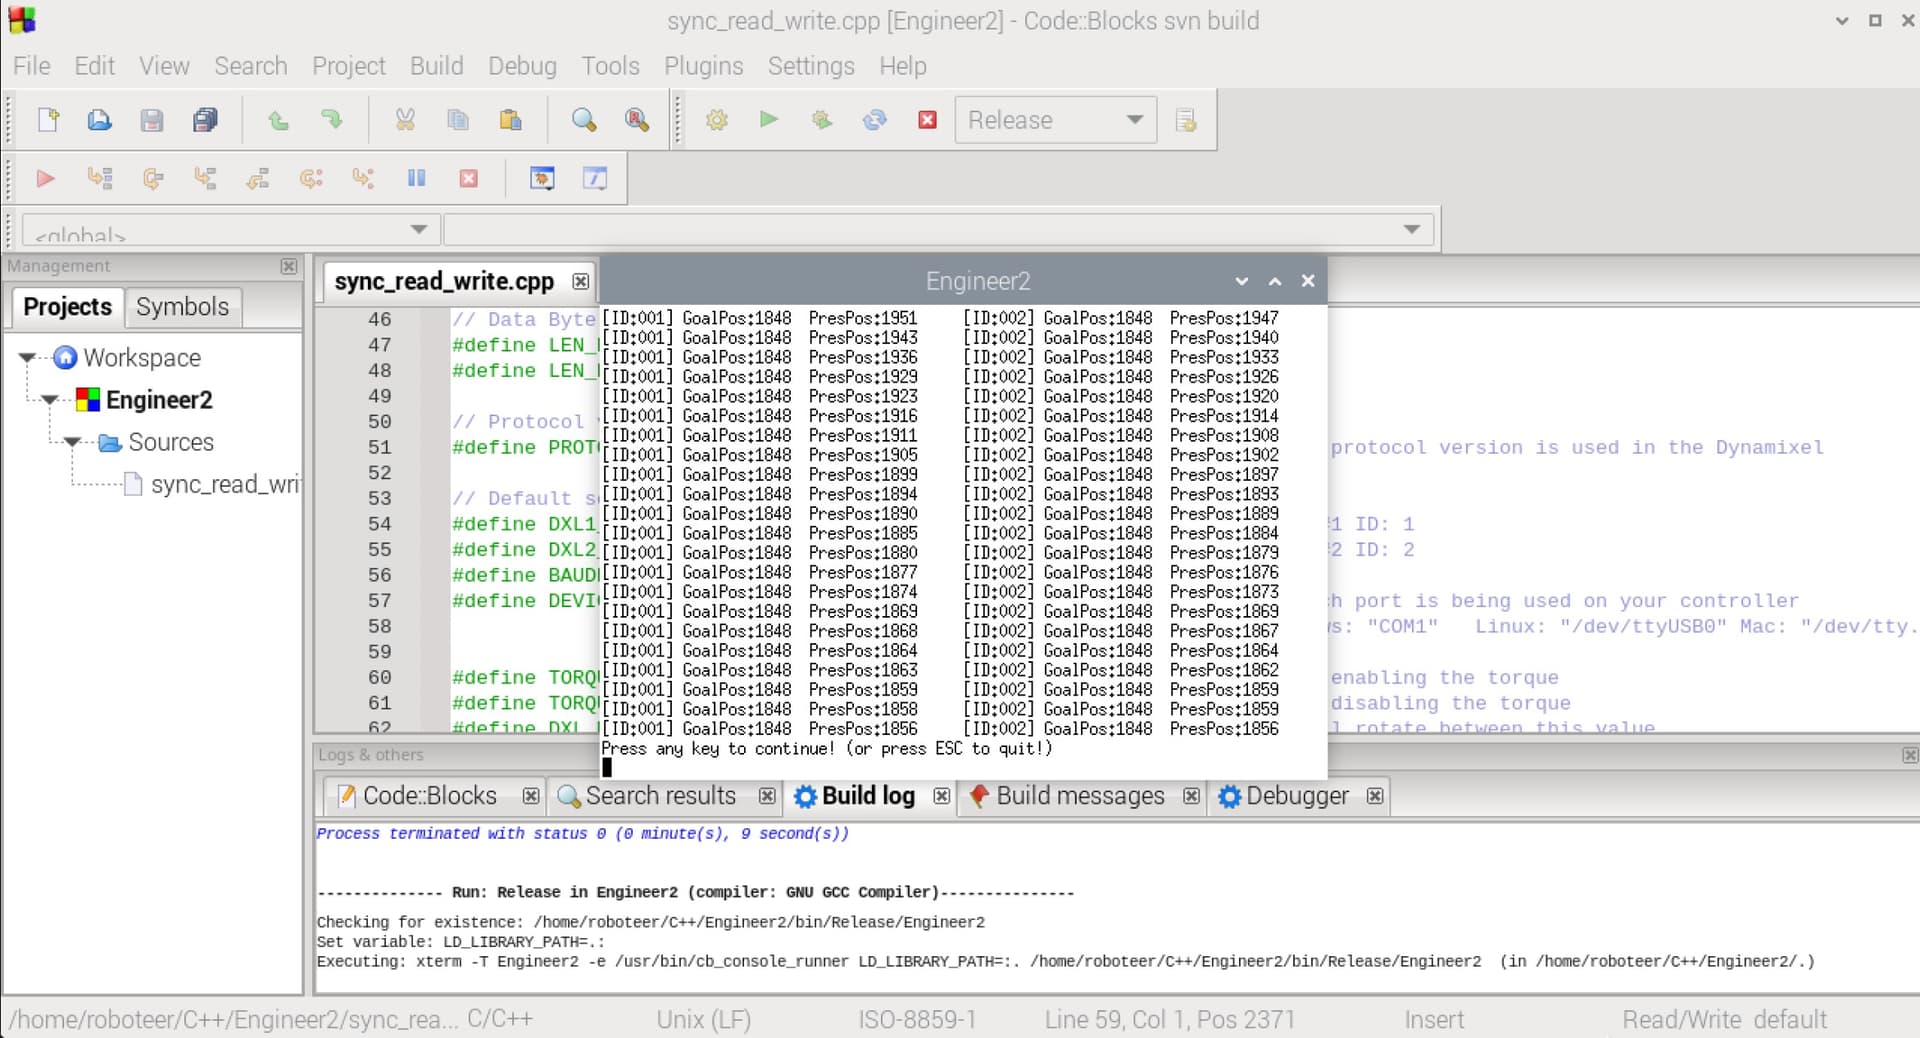
And so far the current DXL SDK worked real well with the RPi5 in C and C++ - see screen capture below for a test on SyncReadWrite. Compiling and run-time performances are much better as compared to RPi4B.
In conclusion, it was definitely worthwhile for me to upgrade to RPi5.
On the next post, I plan to report on how well Python works with the DXL SDK on RPi5.
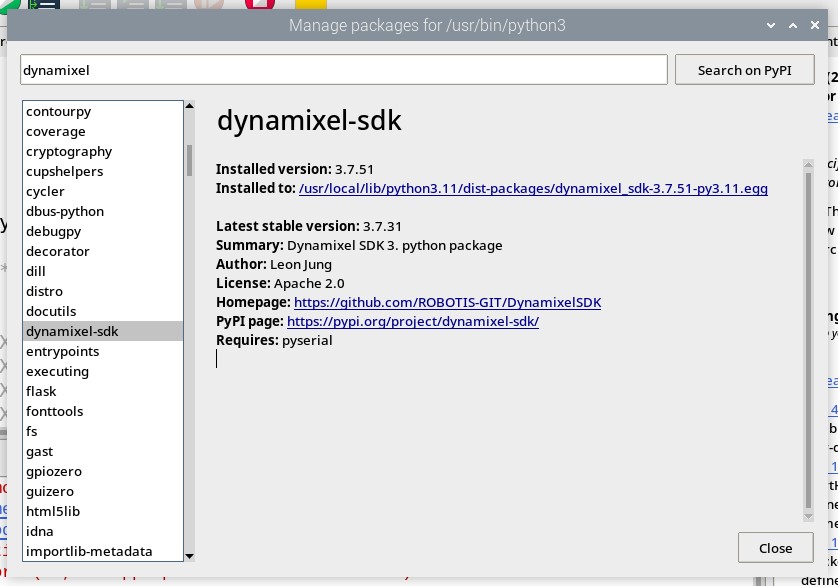
I installed the latest DXL SDK for Python as per this post
And this process went fine for the RPi5.
After adjusting for 1 ms for the USB Latency Timer, and adjusting the pyserial functions to use 1 Mbps, I had tried sync_read_write.py on the Terminal and inside Visual Studio Code and this code worked fine for both situations with occasional loss of packet status (this issue did not happen when using compiled C/C++ code).
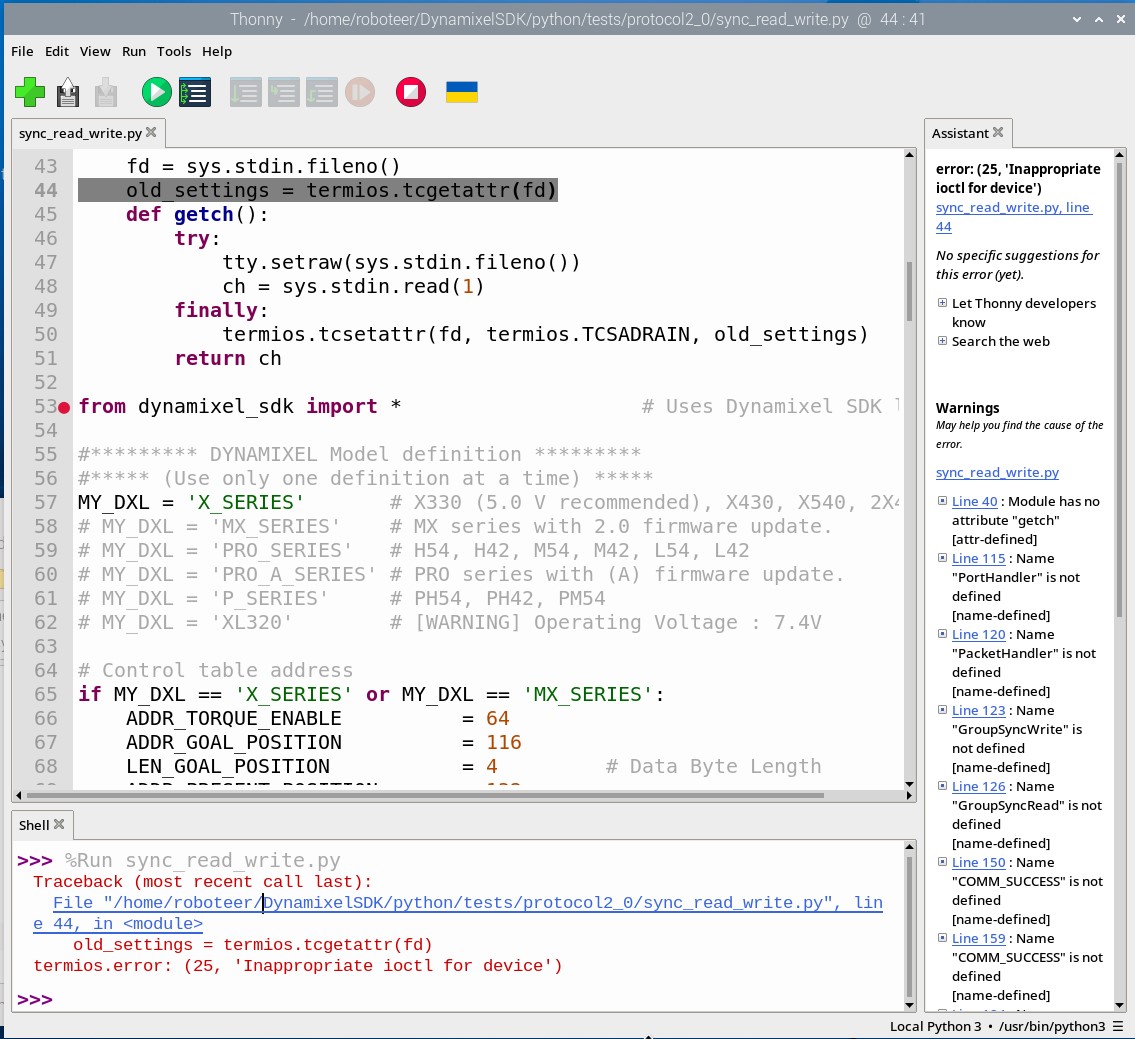
One strange thing with using THONNY though. Although it recognized that the DXL SDK had been installed:
It found issues with termios?
While the Python3 interpreter had no problem executing syn_read_write.py by itself or via Visual Studio Code.
12/18/2023
My next project was to check that my OpenCV codes for RPi4 in my previous books for the Engineer system would still be working in RPi5 with BOOKWORM OS and LIBCAMERA libraries.
Not too surprisingly, the OS backend to OpenCV changed quite a bit. So using an integer for camera ID no longer works - for example
	int cam_id = 0;  // first camera from OS backend
	VideoCapture vid_cam(cam_id);
The user now has to prepare a GStreamer pipeline, and the software chain is quite complicated - more details are listed in the RPi Forum at
If you are familiar with this process already, I am enclosing the pertinent screenshots
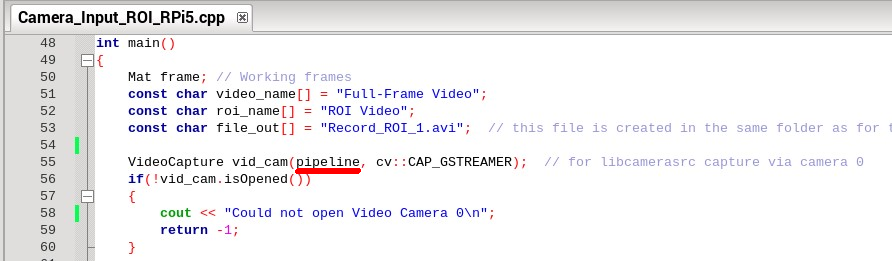
Preparation of the “pipeline” string
Start Video Capture instance
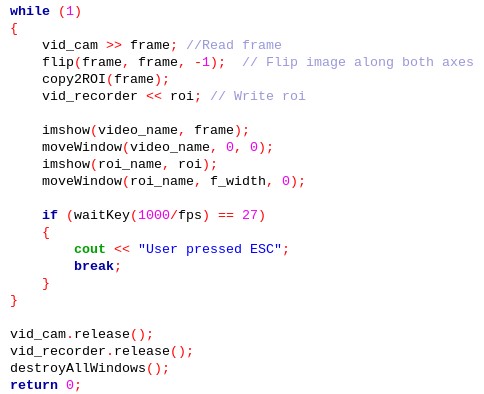
Then the rest of the code is pretty standard OpenCV codes as shown in the examples of my Engineer books.
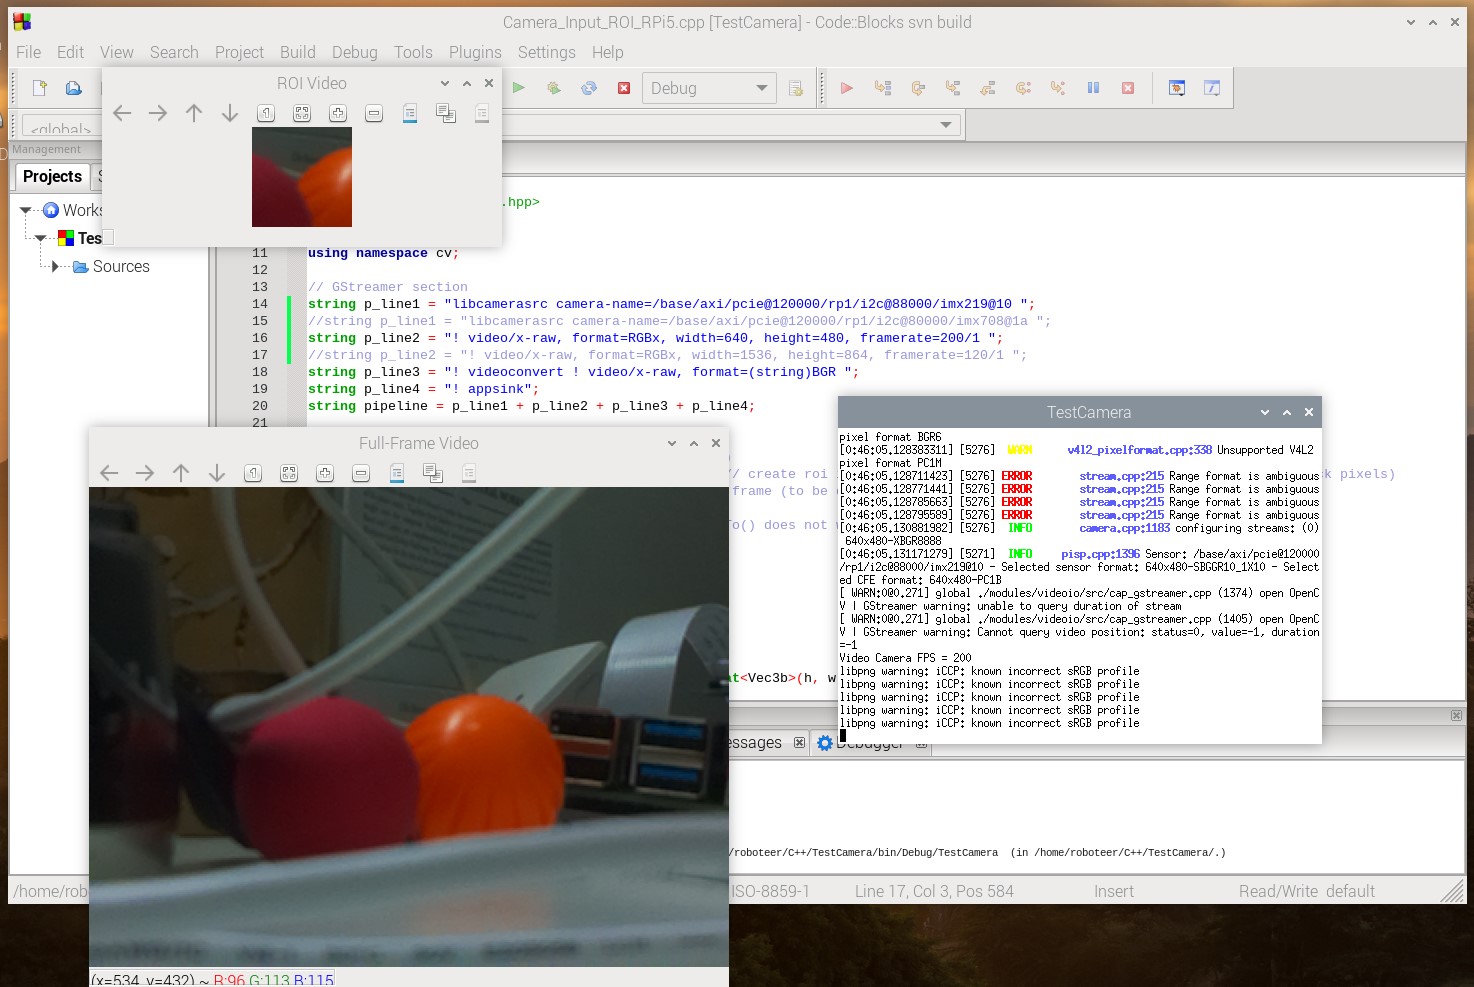
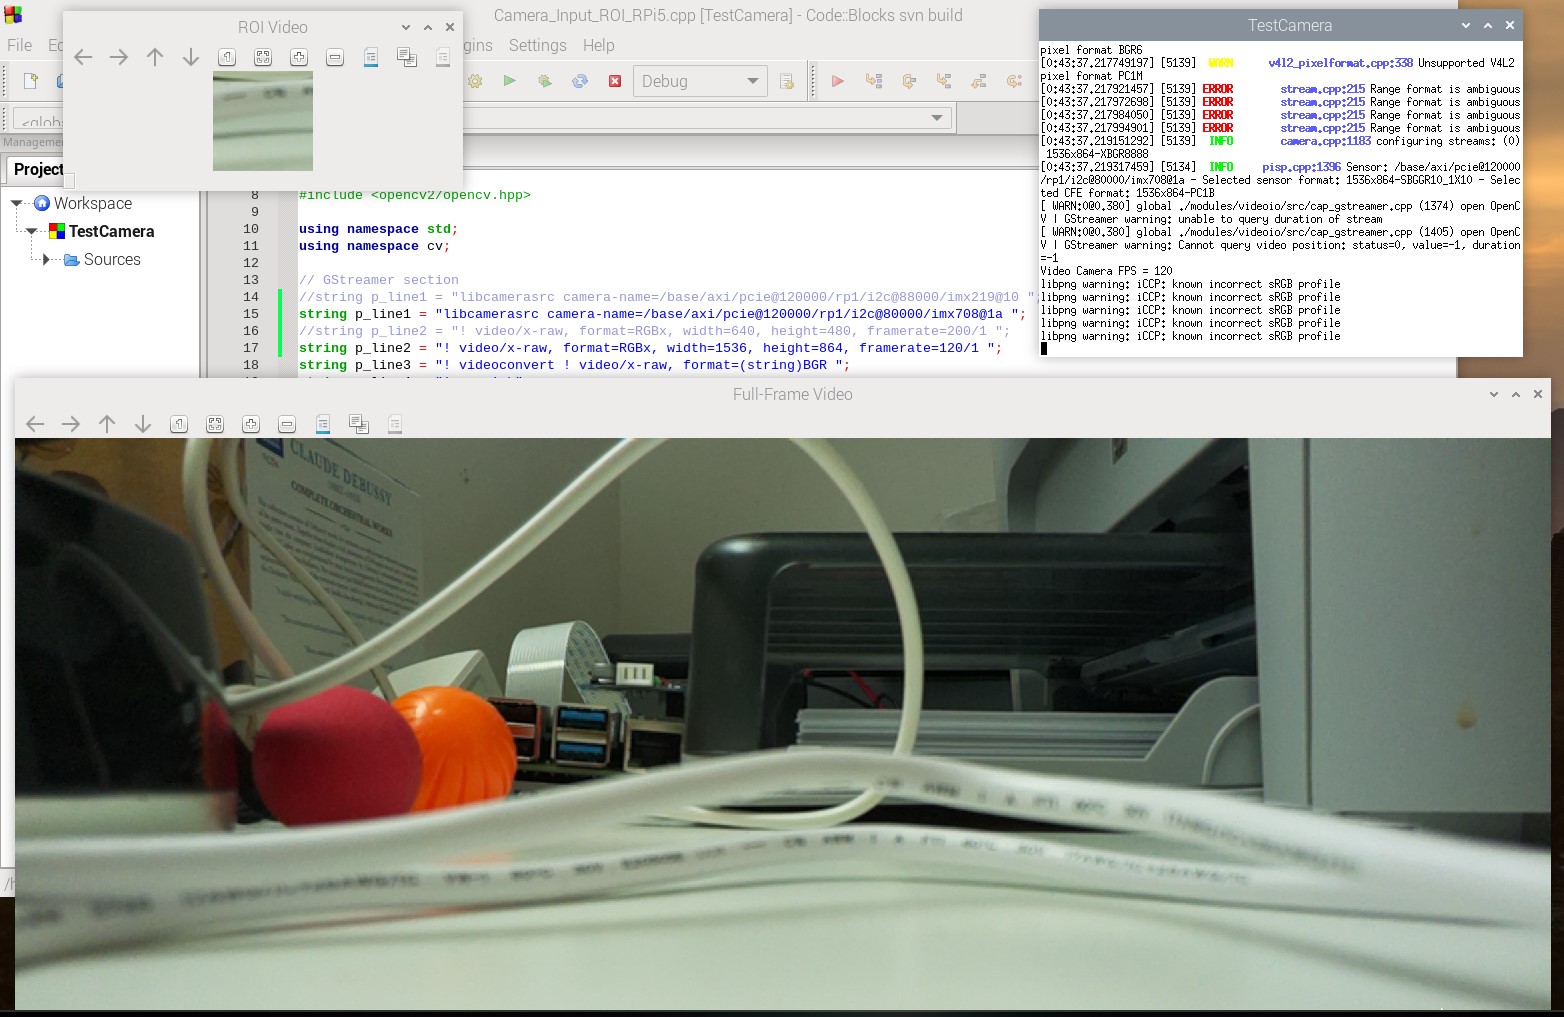
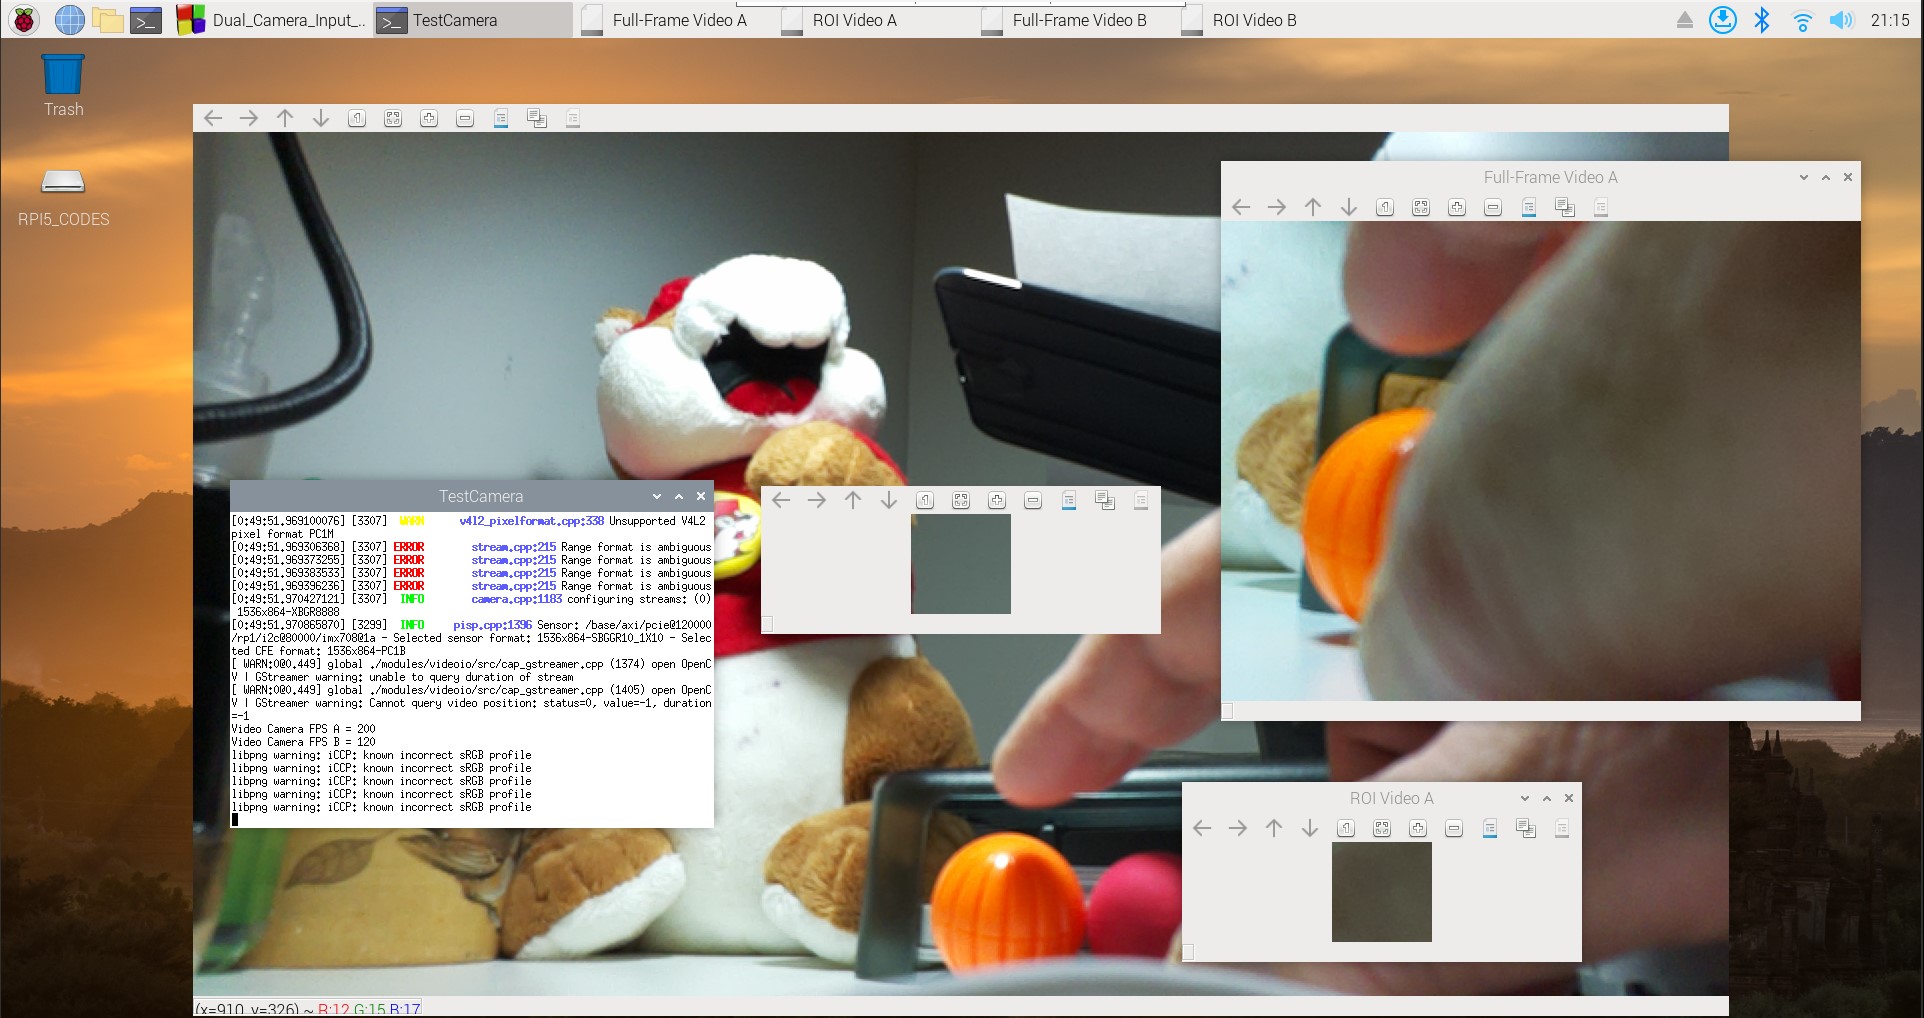
BTW, in case you have not noticed, using PiCamera V2 with RPi5 allowed the user to capture 640x480 pixels at 200 fps, and 1536x864 pixels at 120 fps on the PiCamera V3.
In case you wondered what if both cameras were activated at the same time? I have tried that option, and both cameras would work for a few seconds, then this program would freeze up
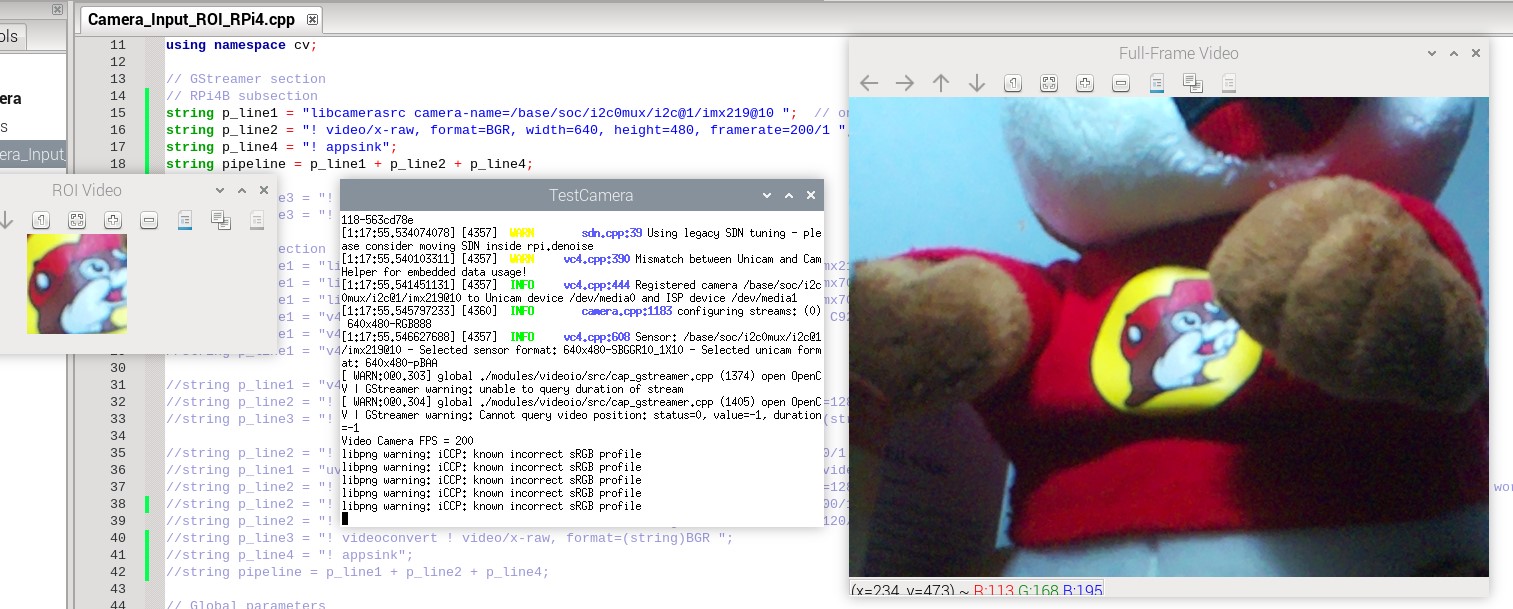
In case that the user needs to stay with an RPi4B, I can confirm that the same “long” procedure will work for an RPi4B on Bookworm OS. But because of the lower hardware performance of the RPi4B vs the RPi5, I had to simplify the pipeline used.
But ones can still get 200 fps out of a PiCamera V2
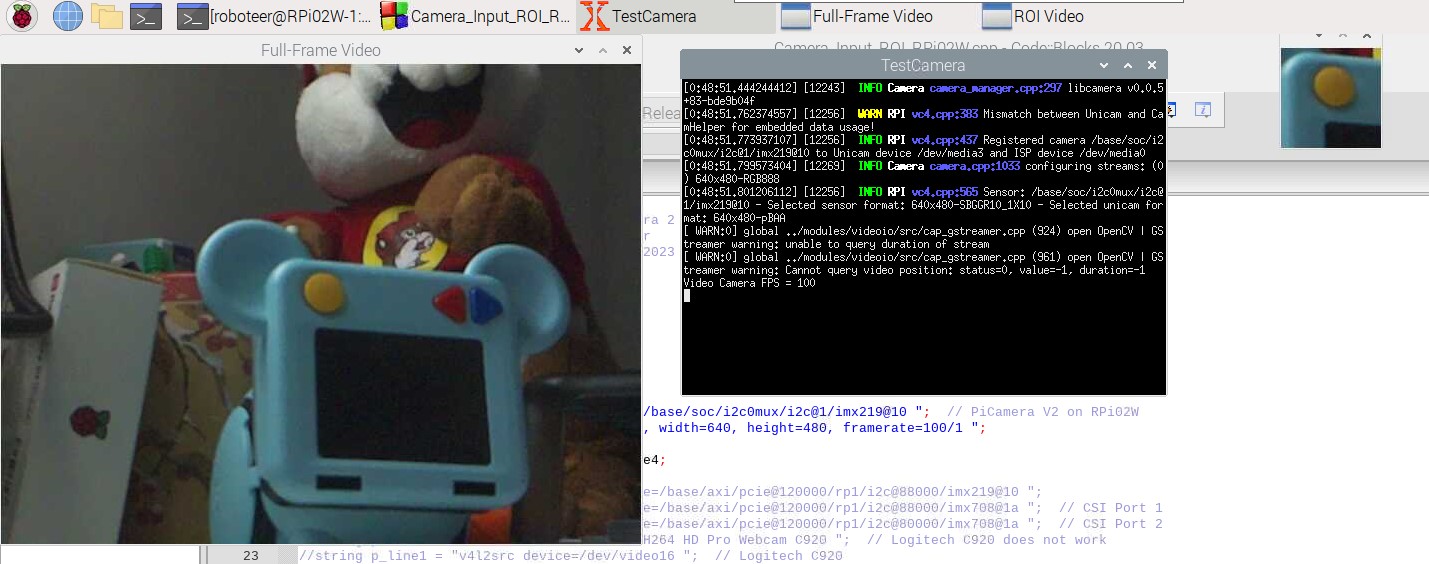
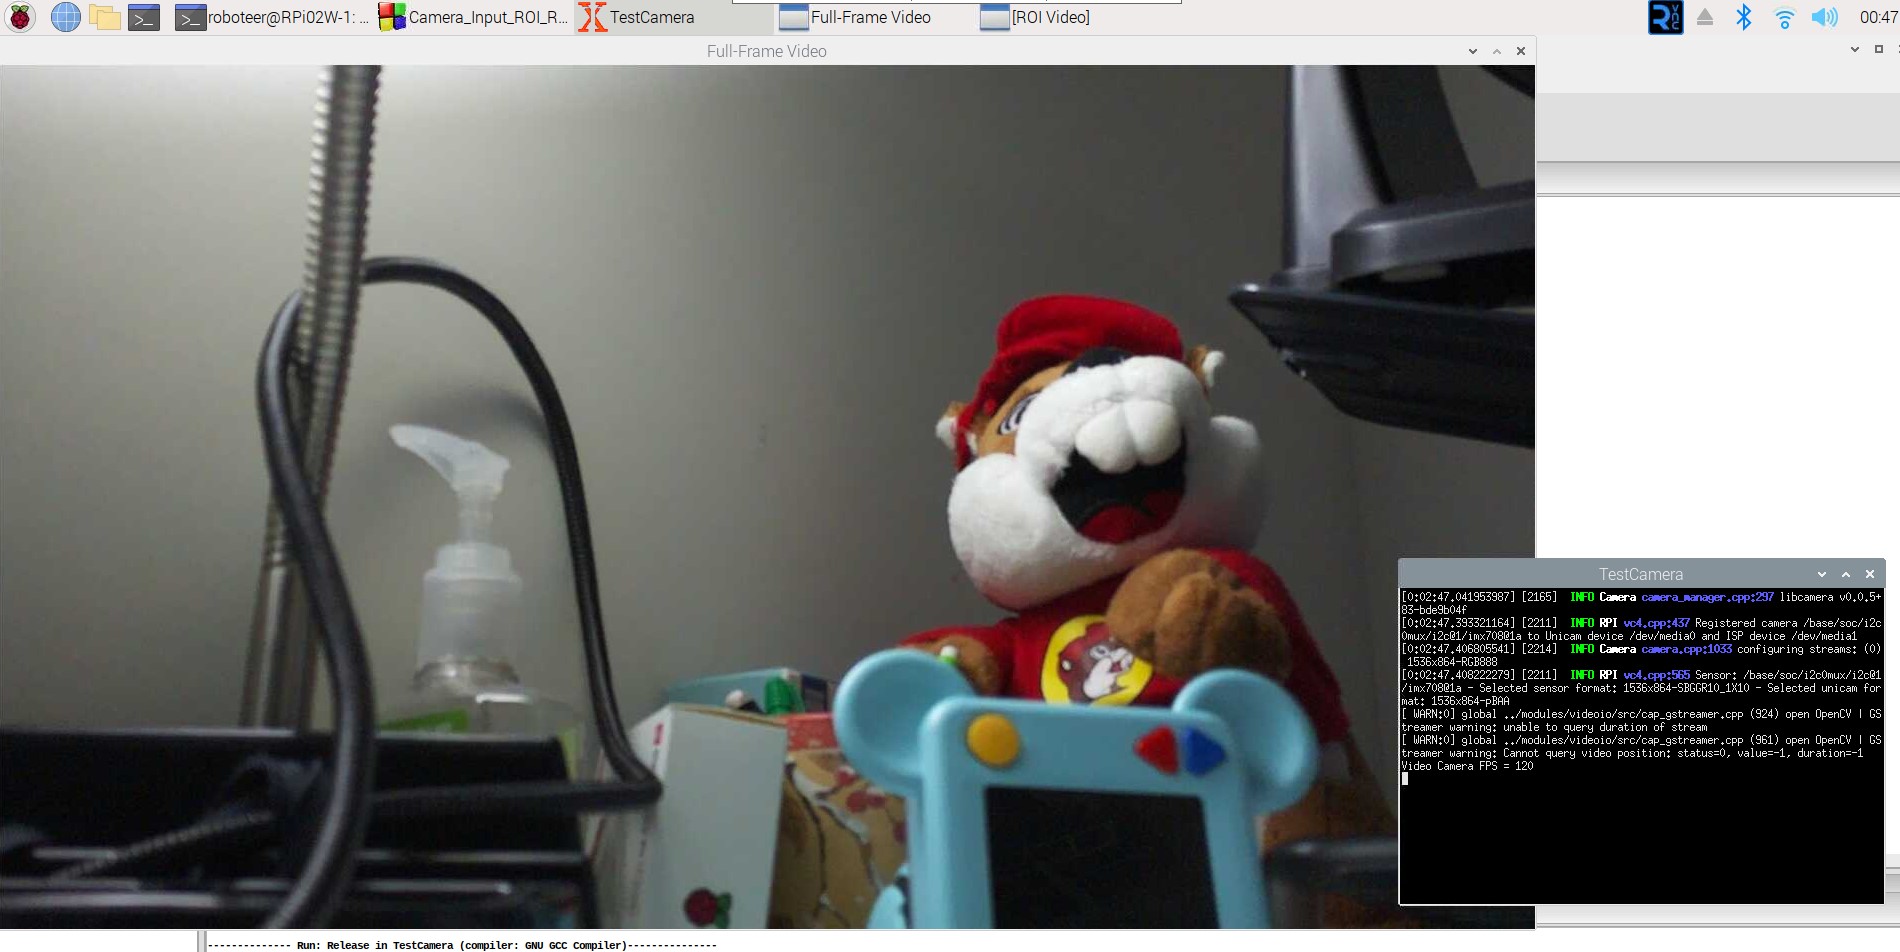
These procedures worked out in a similar way on a RPi0-2W, but a much slower rate due the limited memory and computing power of the RPi0-2W. So with a PiCamera V2, the highest frame rate is 100 fps at 640x480 (vs 200 fps on the RPi5).
While the PiCam V3 can be set to 1536x864 and 120 fps, but the actual performance was really much less.