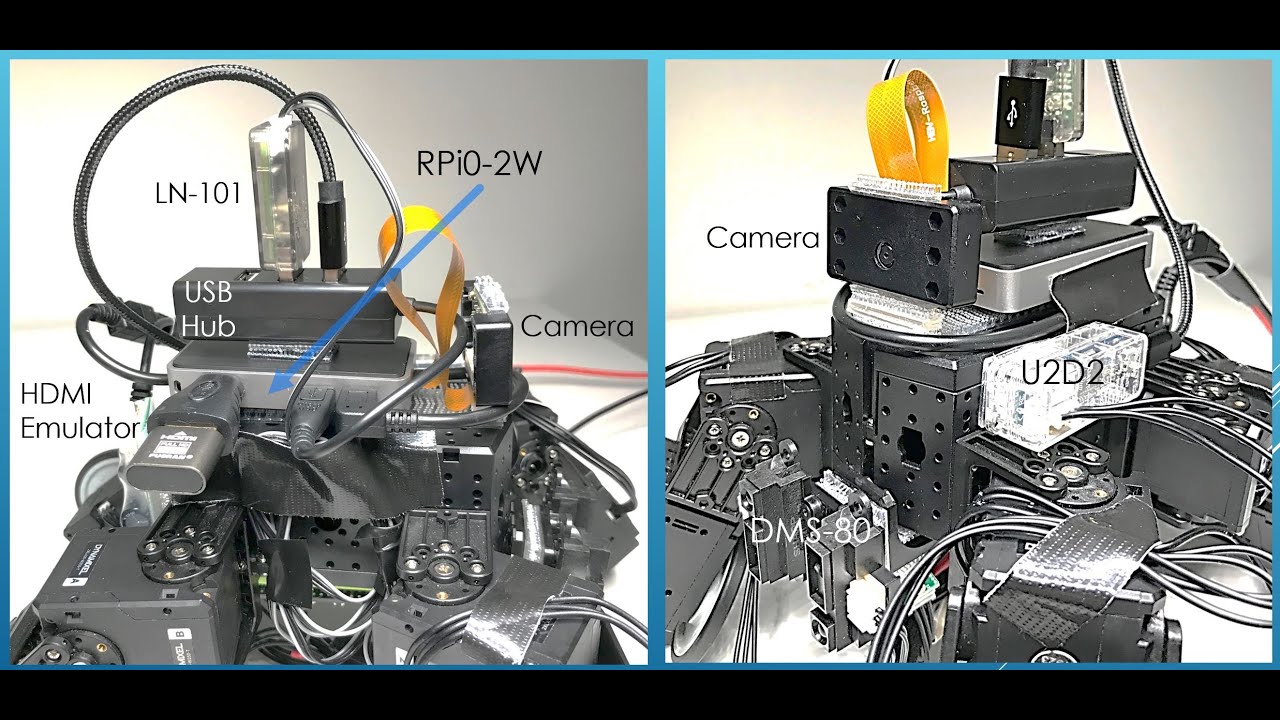
I am starting a Conversion Project trying to see if it is feasible to replace an RPi4B+CM-550 combination with an RPi0-2W+OpenCM-904 combination for control of a robot with a small foot print. I am expecting a run-time performance drop with the RPi0-2W, but trading off for a “leaner” robot mechanical design.
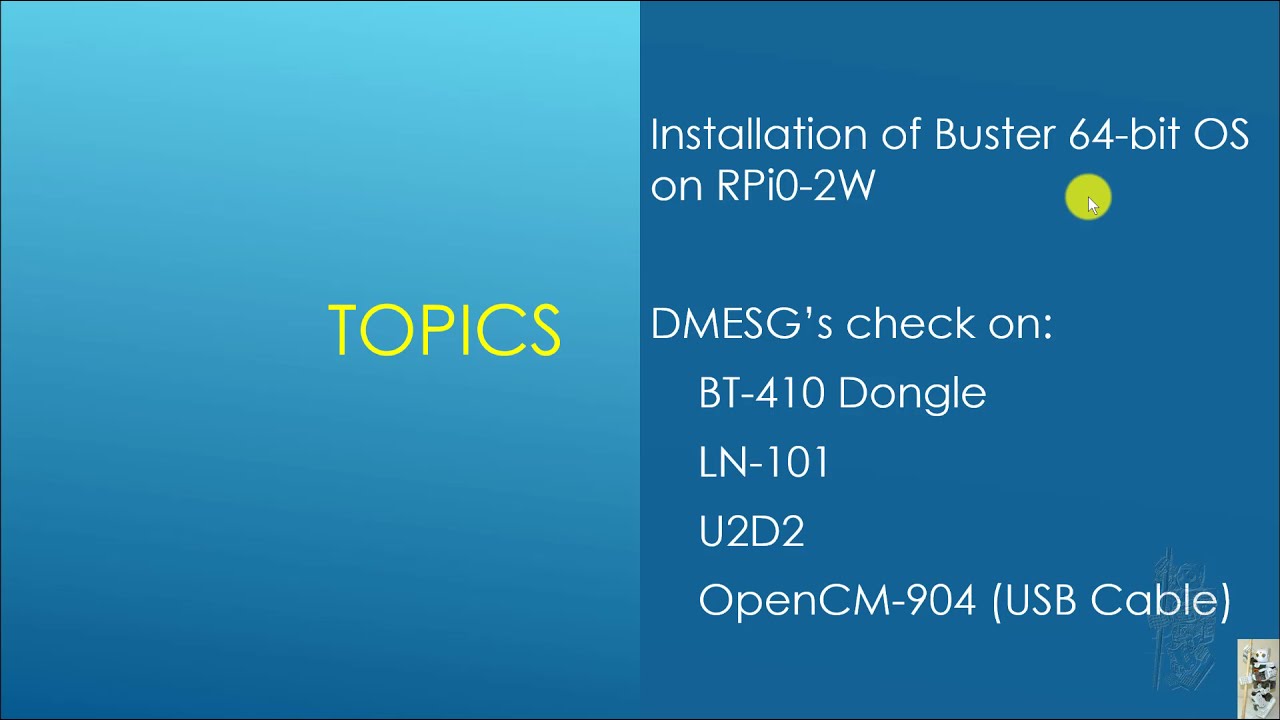
This Post #1 is about my experiences/results in installing Buster 64-bit OS onto an RPi0-2W and in mounting various ROBOTIS USB devices such as BT-410 Dongle, LN-101, U2D2 and plain USB cable to the USB Port of the OpenCM-904.
1 Like
I also look forward to experimenting with the RPi zero 2 W when I can get my hands on 1 in Australia.
Raspberry Pi have released an app called the “Raspberry Pi Imager” which allows you to select which OS you want to install then the app will download the OS image and burn it to the SD card for you see Raspberry Pi OS – Raspberry Pi
I am not super familar with all the Robotis hardware but I though the U2D2 and the LN-101 are just USB to UART converters because a PC doesn’t have a UART port. Since RPi has a native UART port I just assume that you can drive the dynamixel directly from the RPi UART without needing the U2D2 or LN-101 something like this Dynamixel AX12 and the Raspberry Pi | Oppedijk.com
My plan would to be hopefully just have the RPi zero 2 W with 1 of those hubs you posted here New X-series Dynamixel Hubs - Community - ROBOTIS where I connect the Half duplex UART pin and a common ground pin from the RPi to the hub then also connect both battery wires to the hub then I usually use a small buck conveter between the battery and the 5v pin on the RPi so thar the RPi can be powered by the same battery as the dynamixels this is the little buck conveter that I use to power all my RPi projects 1 stücke Mini360 DC DC Buck Converter Step Down Modul 4,75 V 23V zu 1V 17V 17x1 1x 3,8mm SG125 SZ +|buck converter|step down modulestep down dc-dc - AliExpress
So my total parts would be RPi zero 2 W, DXL Hub, battery, buck conveter
1 Like
@Out_of_the_BOTS
This would be a very cool project when you get it completed. Your shared link Dynamixel AX12 and the Raspberry Pi | Oppedijk.com is very interesting as it probably shows the possible “internal” components of some aspects of a U2D2 or LN-101, but it also shows that you would have to take care of flow control yourself? (GPIO 18 and the 74LS241 module). Also you would have to re-create your own Dynamixel SDK too. Unfortunately, all that is beyond my skills set!
1 Like
Yes I have just noticed how he has done the flow control with a tri state logic gate. It seems the RPi doesn’t have native half duplex UART
When I can finally get my hands on a RPi zero 2 w I will experiment without using this flow control setup but rather connecting both the Tx and Rx pins to the data line of the dynamixel. I will get an echo back on the Rx anything that is sent out of the Tx but I should be able to flush that from the Uart read buffer in software.
It will be an interesting learning for me about what is possible with a dynamixel
2 Likes
This Post #2 wraps up this project. The details are shown in this YouTube video:
Watching your videos I am chopping at the bit to get my hands on a RPi zero 2 W. They are still not available in Australia yet.
FYI you shoudl be able to fix your VLN viewer problem with
sudo -u pi vncserver -randr=1400x900
This will create a virtual display and after you type this command it will give you the IP address where it will be displayed. I have had to use this on some of my other RPi projects.
I was worried about the camera frame processing rate that you would get from a RPi zero2. I think we may need to use a very low resolution to get better frame rates.
The RPi zero 2 can be over clocked if you put some cooling on the CPU. It does use the same processor as the RPi 3B but the RAM is stacked on top of the CPU meaning it over heats easily thus the slower clock rate. I am going to follow this video in trying to push the clock speed higher by using active cooling https://www.youtube.com/watch?v=7tfiNIPLRUM&t=347s this is the active cooling that I brought https://www.aliexpress.com/item/4000028946244.html?spm=a2g0s.9042311.0.0.782b4c4dEcmXQI it has a fan and heat sink for CPU/RAM stack and a heat sink for the GPU which can also get a little over clocking. This should allow same processing speed as a RPi3 B
Also I have backed this project https://www.kickstarter.com/projects/arducam/high-resolution-autofocus-camera-module-for-raspberry-pi?ref=ksr_email_backer_backer_confirmation&fbclid=IwAR1tkg5hwRLaovXf9o8_SZQkoVEt-URnWCU1H2-PGYdrqp4dkvf3y7JCl-w It has a bigger lens and a much bigger sensor so I am hoping it will be able to handle a much shorter exposure time so there isn’t as much blurring with moving objects. It is designed to be a better camera for machine vision on robots.

